¶ Set up EdgePi Nodes in Node-RED
This guide assumes you already have a Node-RED environment installed and know how to run the editor. If not, please follow the Node-RED setup guide.
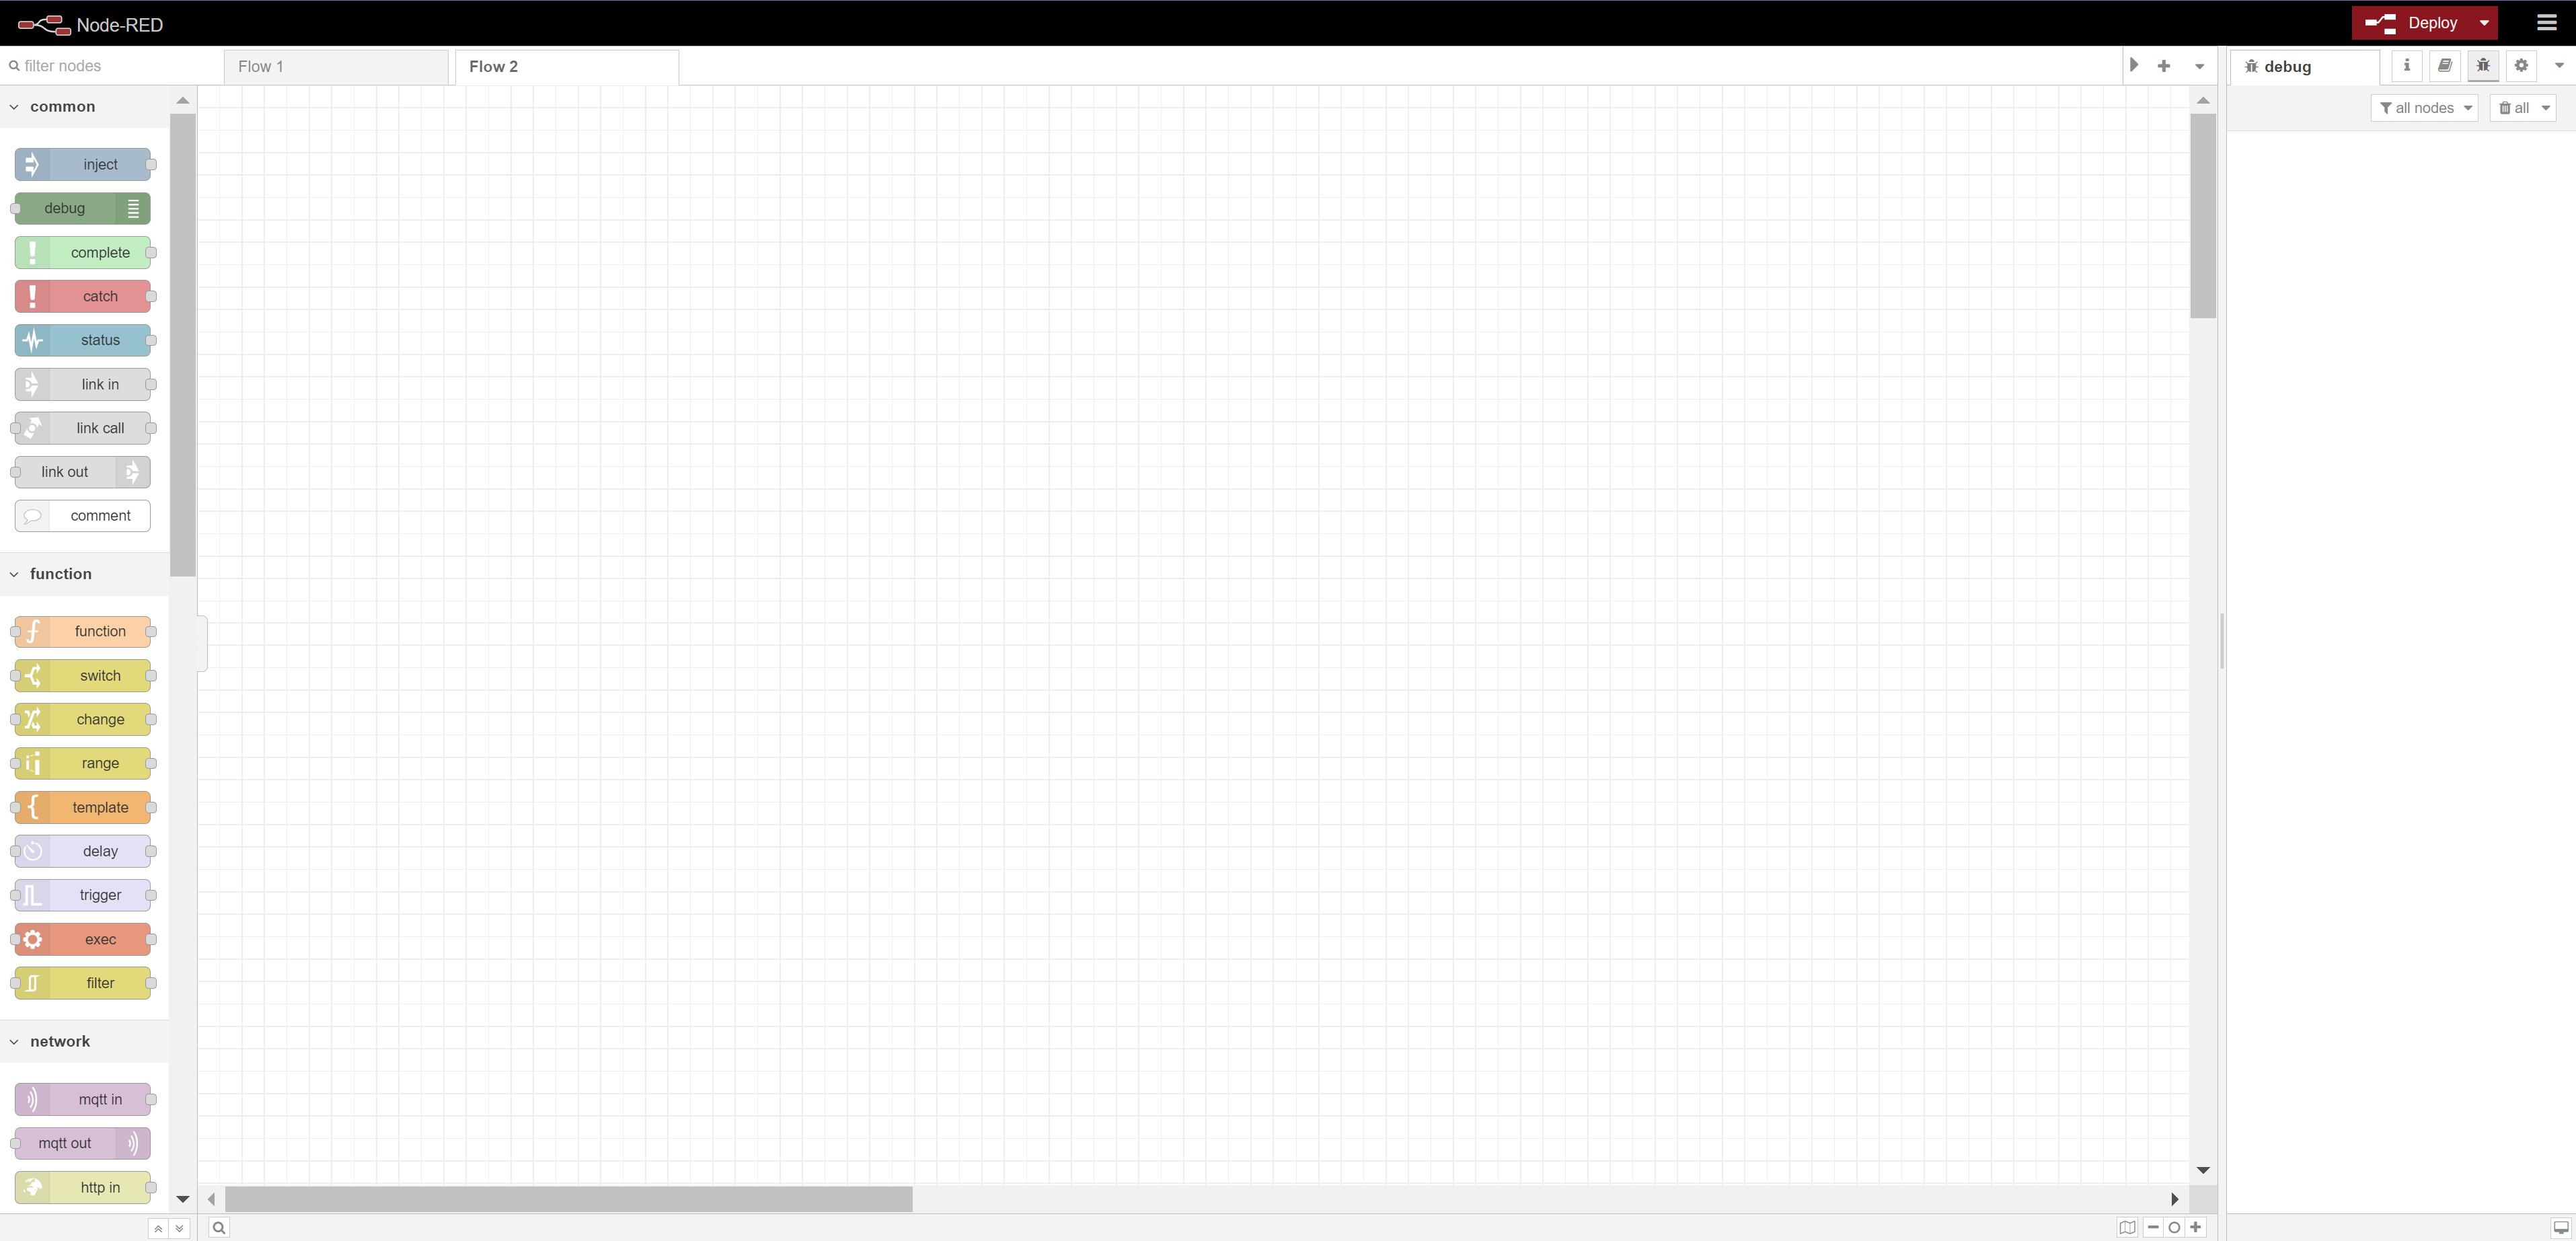
¶ Installing from the Node-RED editor
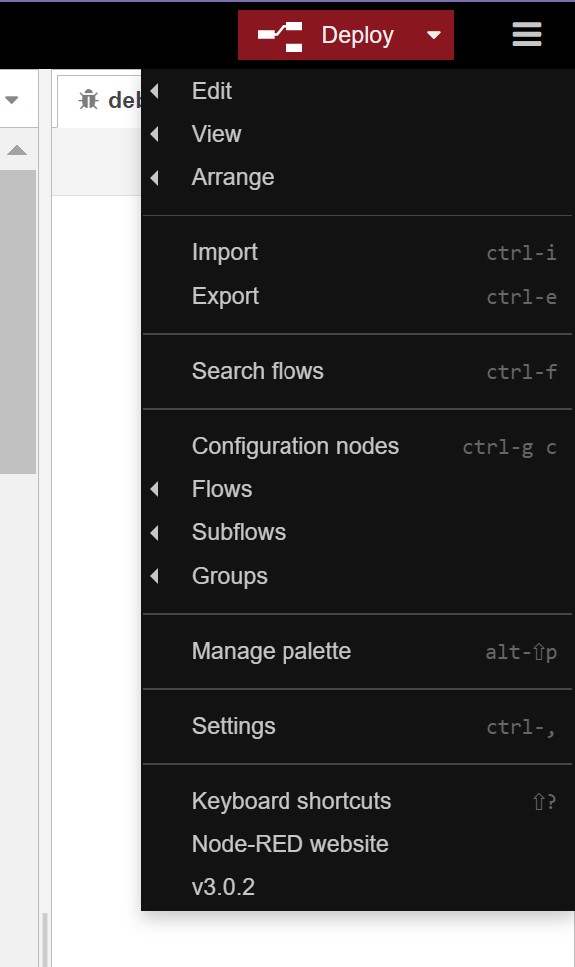
- Click the three bars icon in the top right of the editor.
- Click on the
manage paletteoption. This will open up a section where you can install and manage third party nodes.
- Click on the
installsection and type the name of the edgepi node you'd like to install in the search bar. All nodes start with our organization name@edgepi-cloudand end withnode-red-edgepi-<node-name>. Once you have found the node you can clickinstalllocated in the bottom right hand corner. Available nodes are listed below:
- adc @edgepi-cloud/node-red-edgepi-adc
- dac @edgepi-cloud/node-red-edgepi-dac
- digital - in @edgepi-cloud/node-red-edgepi-digital-input
- digital - out @edgepi-cloud/node-red-edgepi-digital-out
- led @edgepi-cloud/node-red-edgepi-led
- pwm @edgepi-cloud/node-red-edgepi-pwm
- relay @edgepi-cloud/node-red-edgepi-relay
- thermocouple @edgepi-cloud/node-red-edgepi-thermocouple
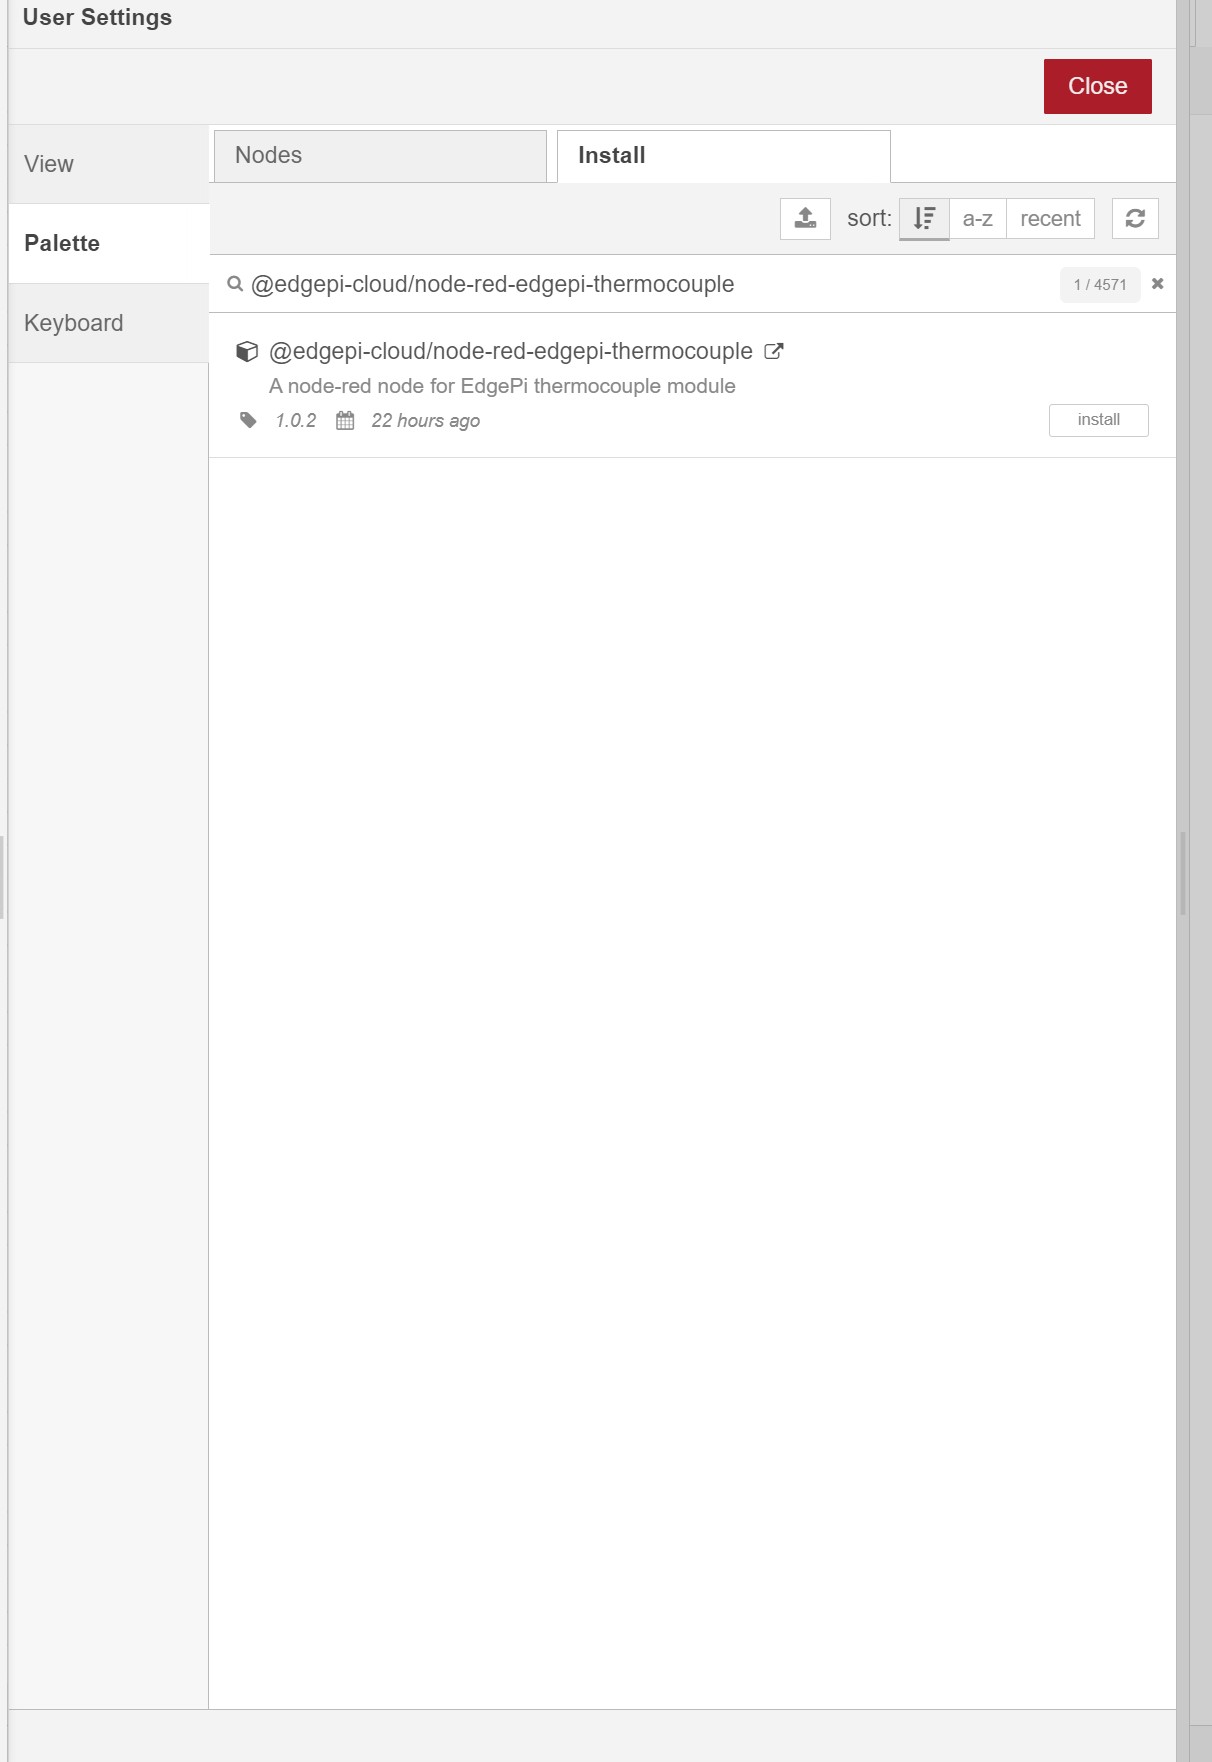
4. A drop down menu in the middle of your editor will display with the option to install the node or open node information (this will open the node's Node-RED library page in a new tab). Click the install button. Note, if you're running Node-RED on the EdgePi, the first install may take some time, but it should complete in under 5 minutes.
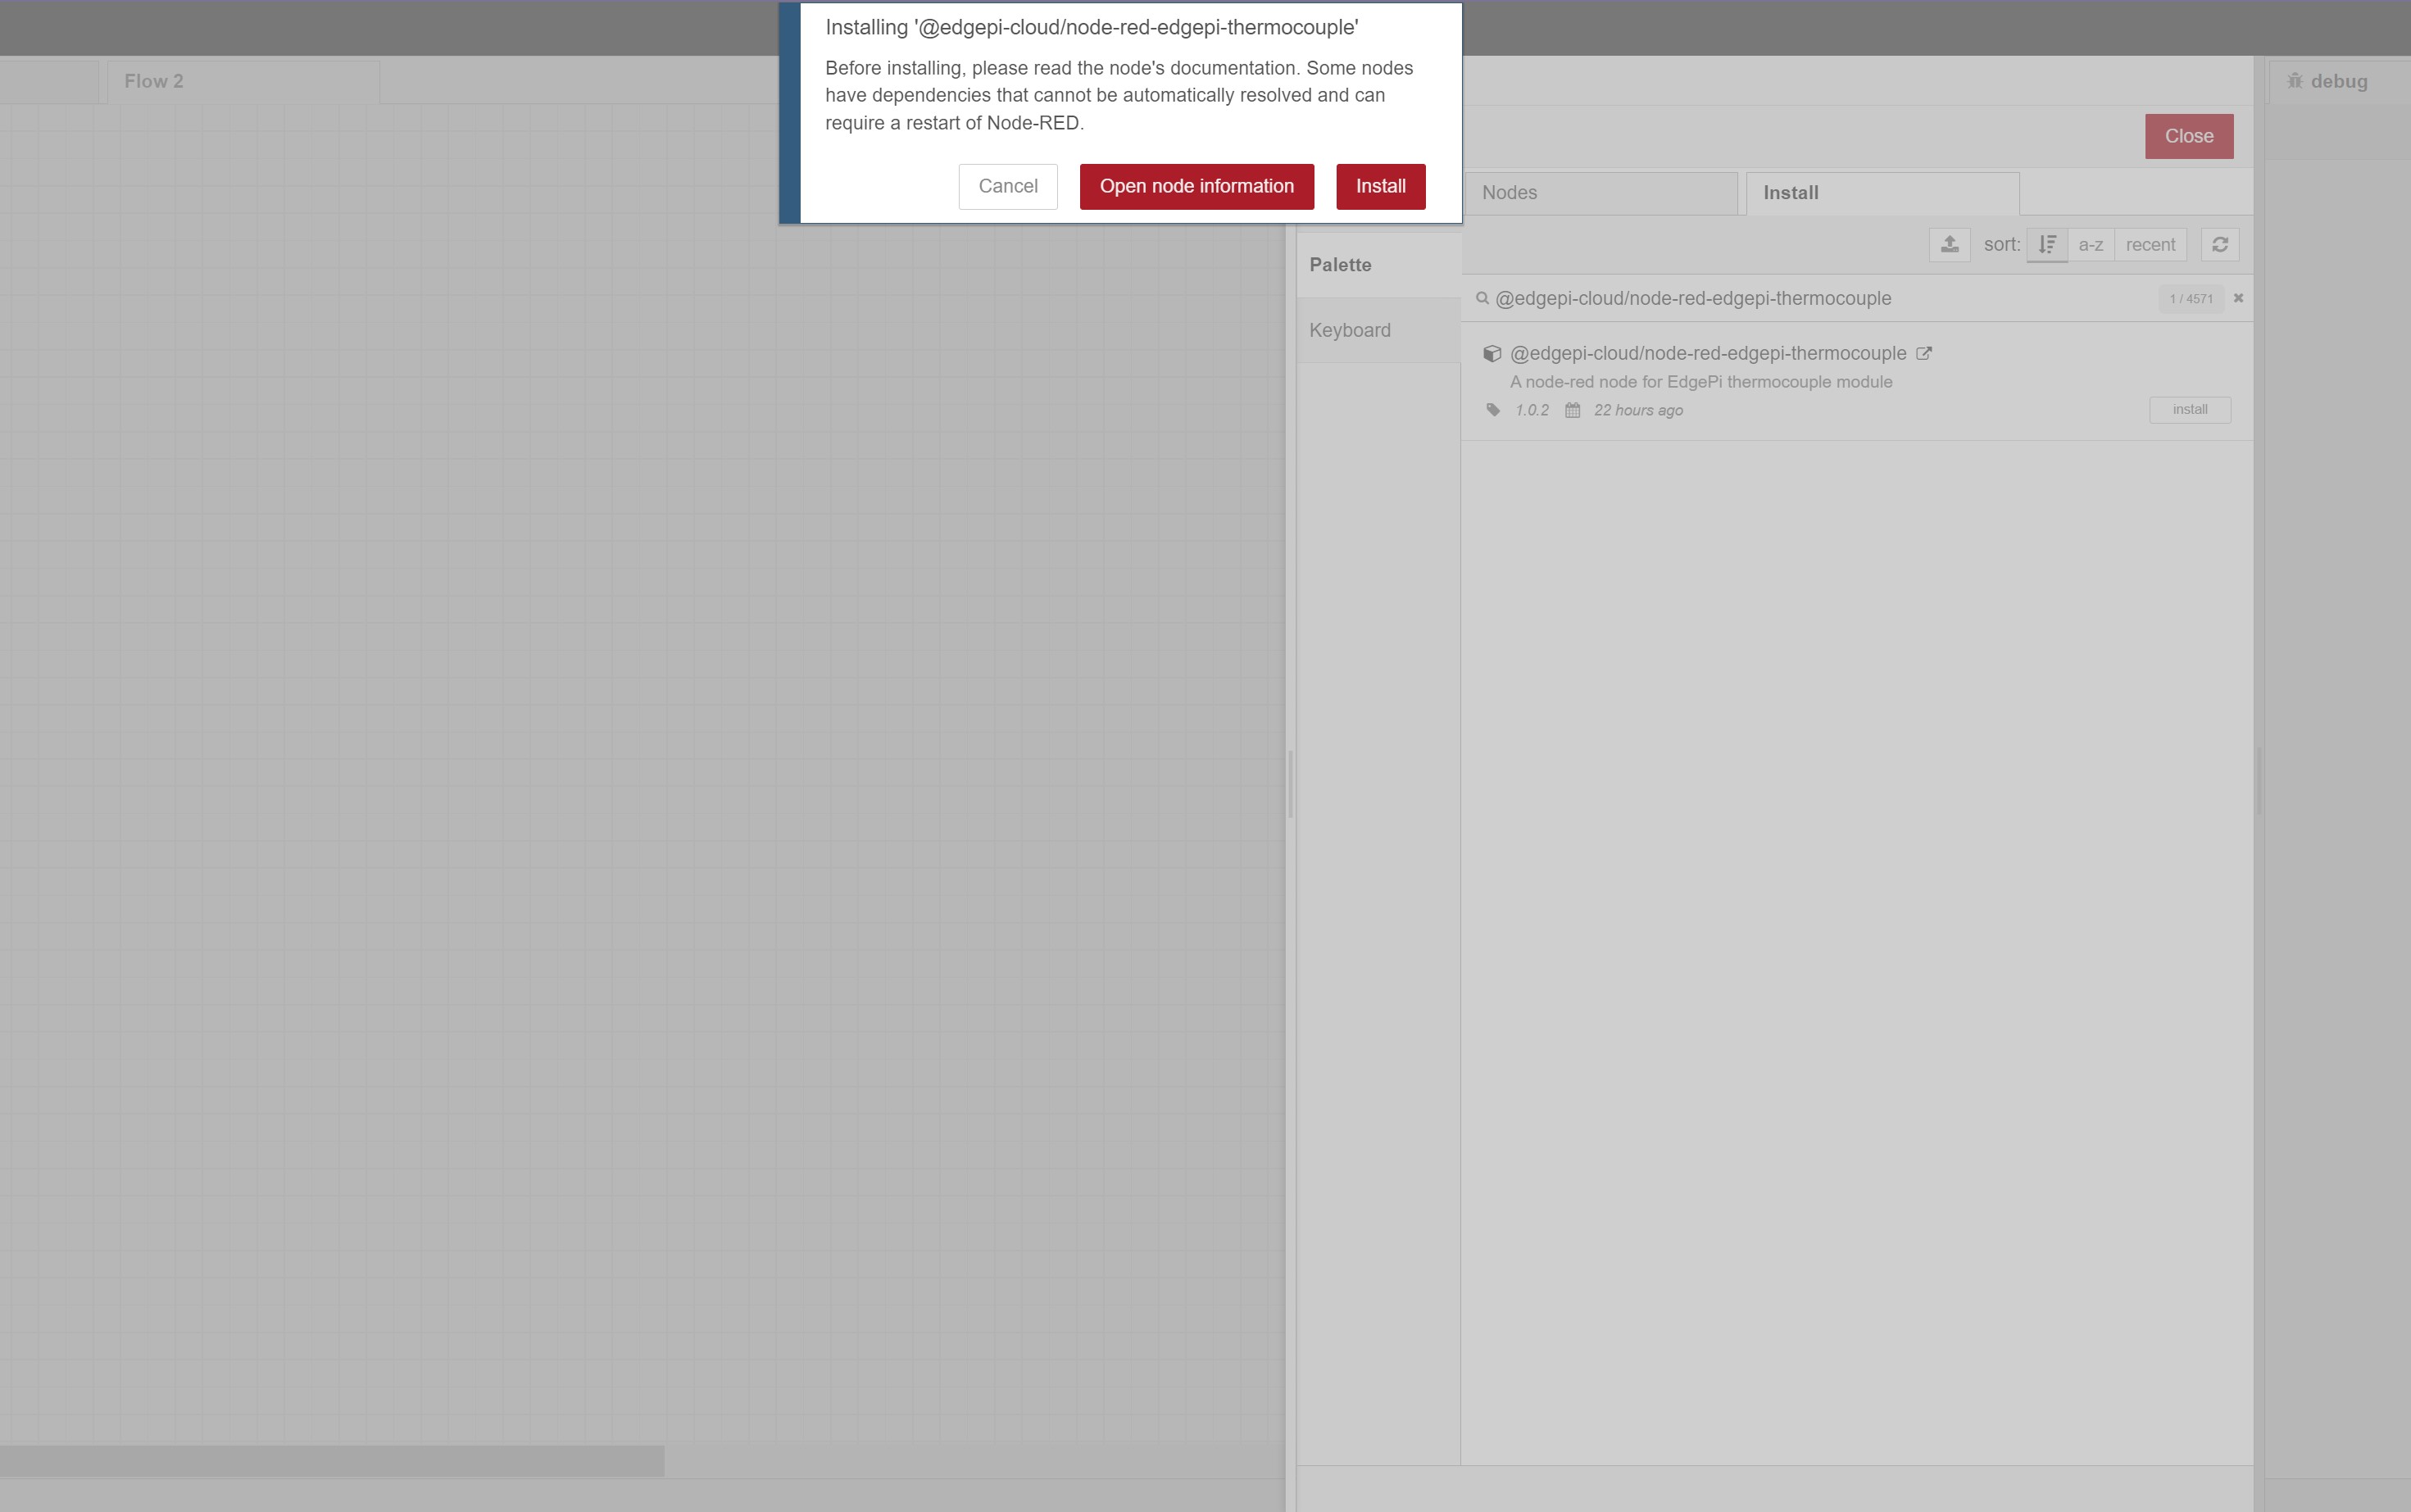
5. Exit out of the manage palette section and scroll down on the left side bar where your nodes are located. Under Osensa EdgePi you should see all the EdgePi nodes you have installed.
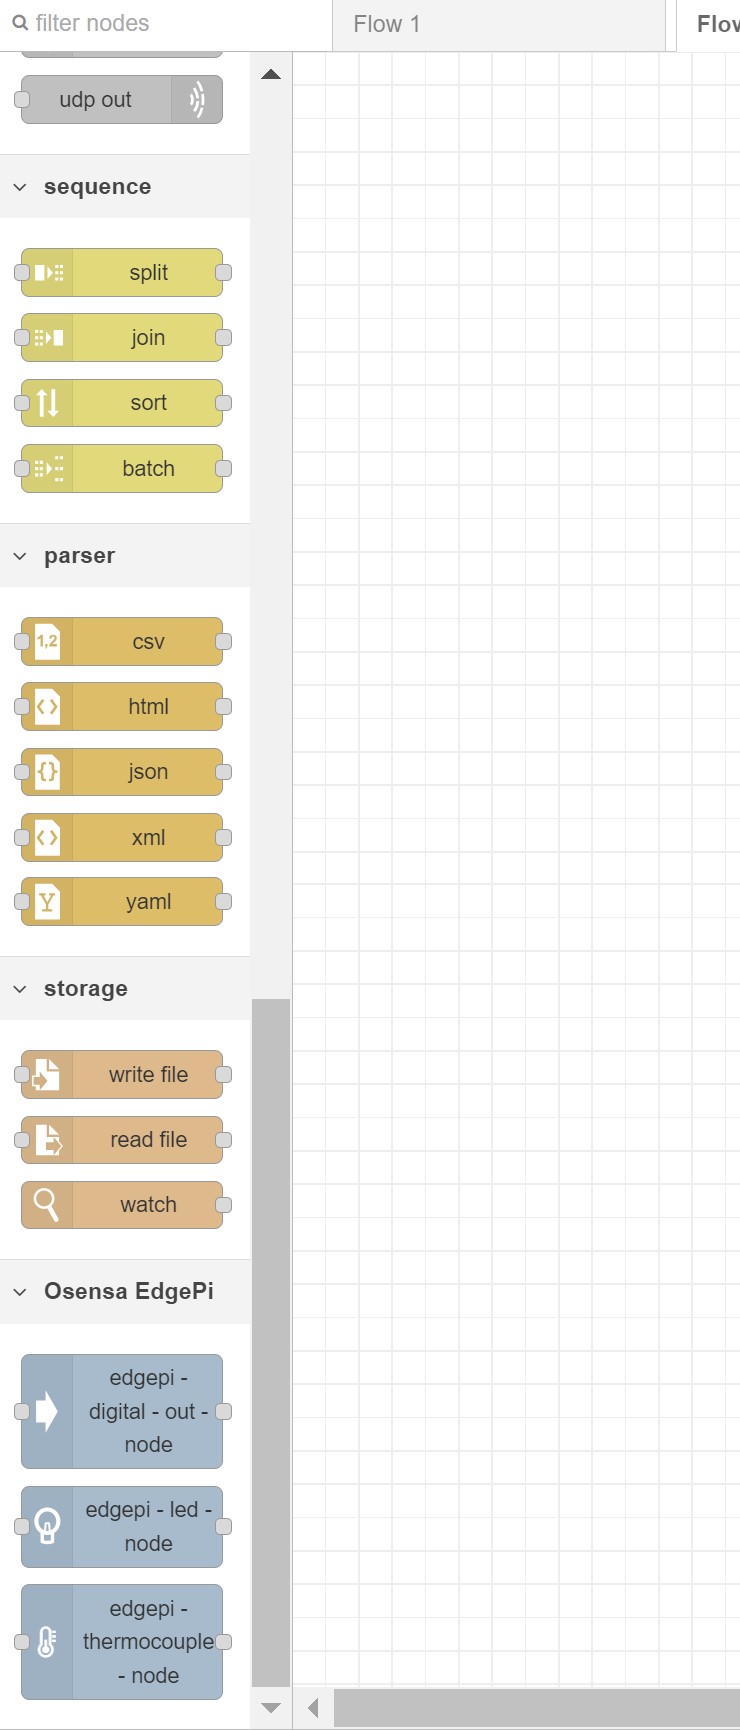
Congrats! You have successfully installed our EdgePi nodes and they are ready for use!
¶ Using EdgePi Nodes
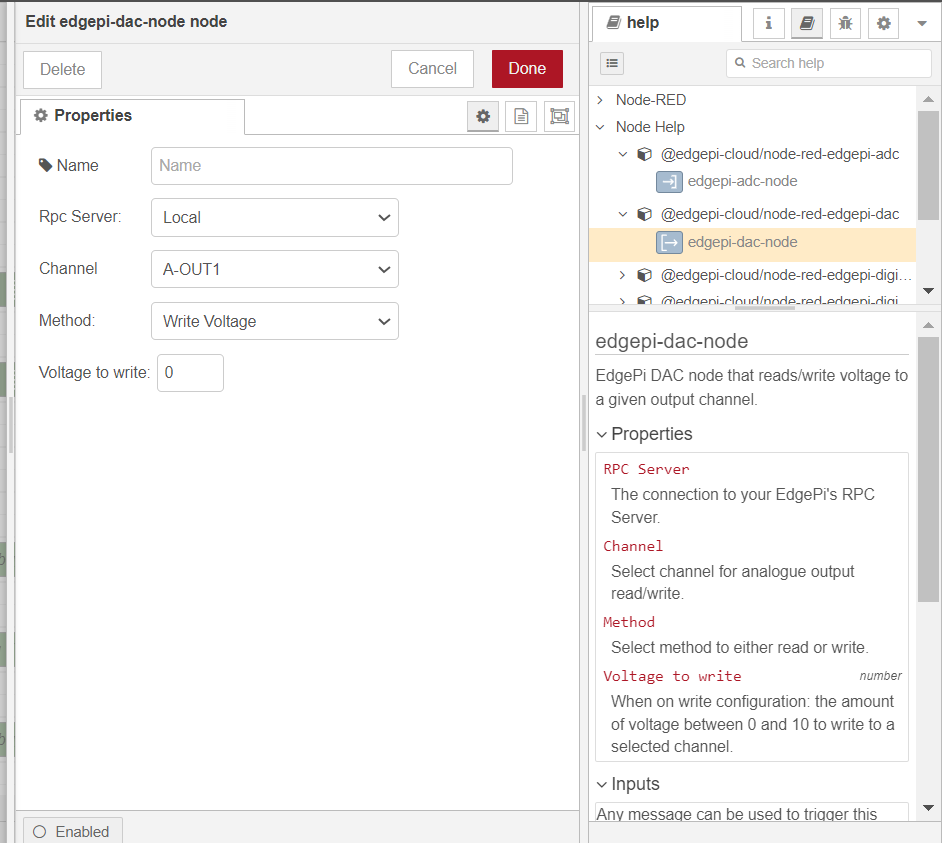
Each node has a help tab if you are ever confused about its capabilities.
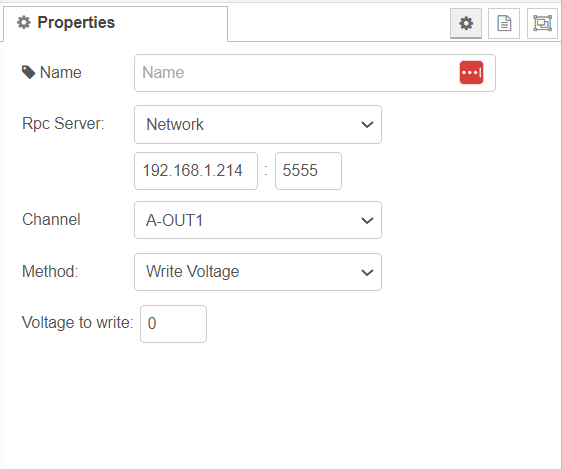
Within the editor tabs of all our EdgePi nodes, you'll find a crucial Rpc Server field. Here, you have the flexibility to configure how you want to connect to the EdgePi.
¶ Connecting locally
If you are running Node-RED on the EdgePi, you'll want to select the Local option.
¶ Connecting over the Network
If you are not running Node-RED on the EdgePi, you'll want to connect to the EdgePi over the network, so select the Network option. You'll be shown two input fields for ip address and port. This is where you provide the IP address or hostname of the EdgePi, and the port the RPC Server on that EdgePi is listening on. The RPC Server by default listens on port 5555.
