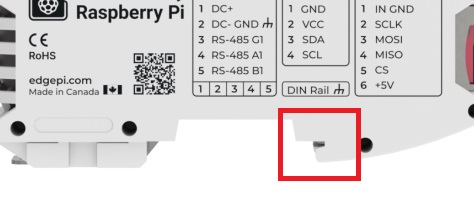
¶ EdgePi First Time Setup
This guide will explain what to do when your EdgePi arrives.
¶ Unboxing
When you open the box, you should find your EdgePi device ready to go. If you ordered an EdgePi Pro, a Wi-Fi antenna will be available in the box. Otherwise, you will not have an antenna.
¶ Peripherals
Here are the peripherals that you should have along with your EdgePi.
- A 12-24 VDC power supply.
Recommended: EdgePi Wall Adapter - A DIN Rail mount and TBUS.
Recommended: EdgePi DIN Rail Kit
¶ Powering the Device
Use a 12-24 VDC power supply with a positive (+) and negative (-) wire.
¶ Side Module
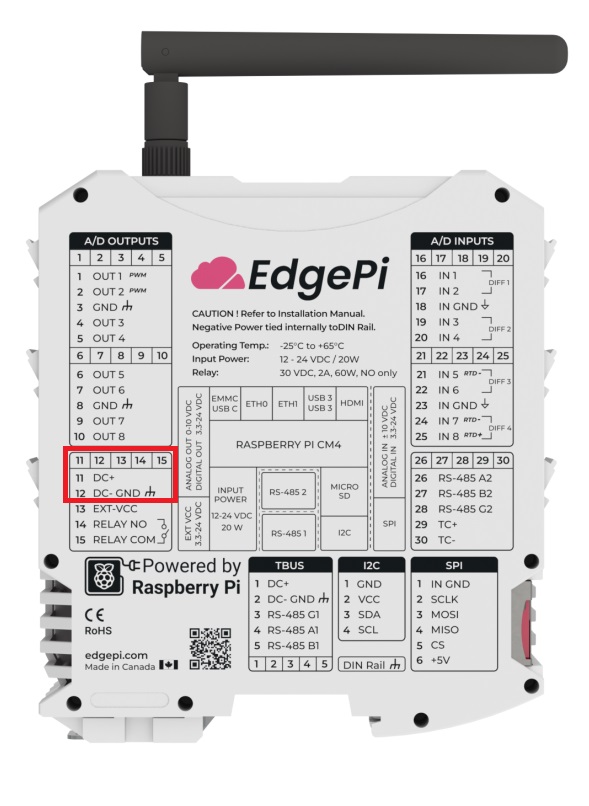
- Locate the module on the left side of the device (includes channels 11-15).
- Connect the positive wire to channel 11 (labelled
DC+) and connect the negative wire to channel 12 (labelledDC- GND).
Don't turn on your power supply or plug in the adaptor yet; You could risk electric shock.
Loosen the screws before inserting the wires, then tighten the screws.
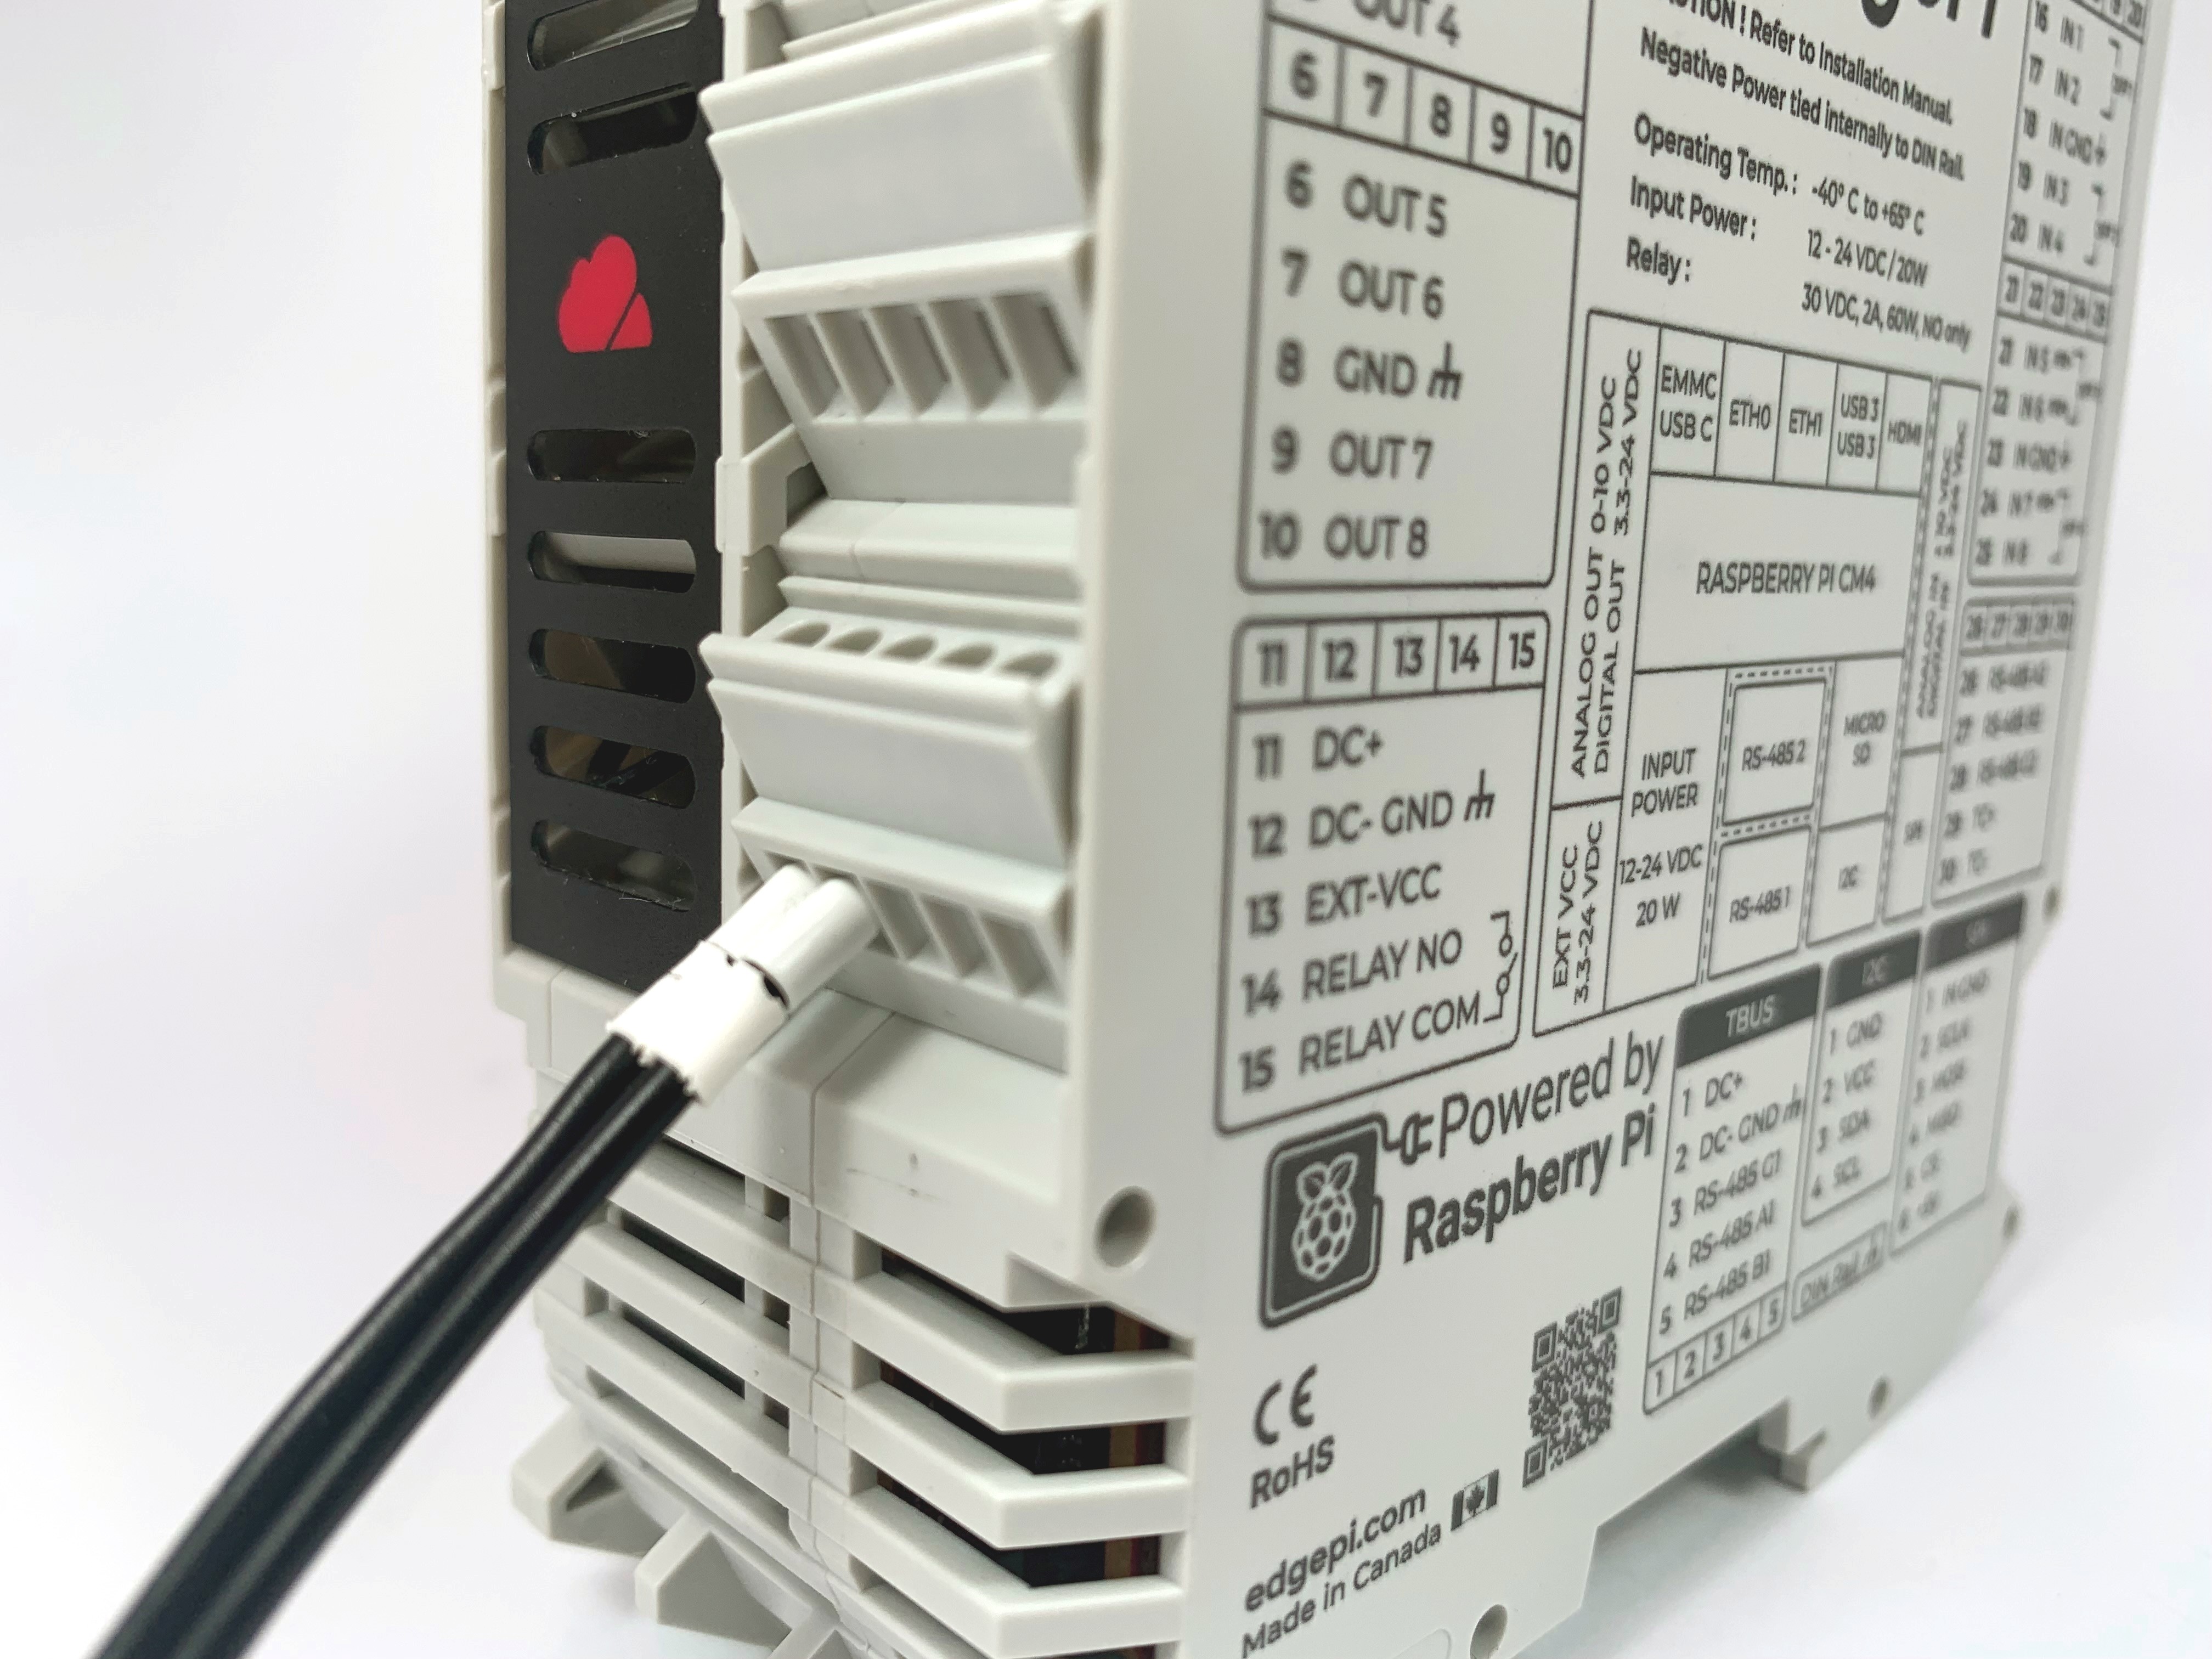
3. Turn on your power supply or plug the adaptor into the wall.
You should see your device turn on. Good job.
¶ TBUS and DIN Rail
-
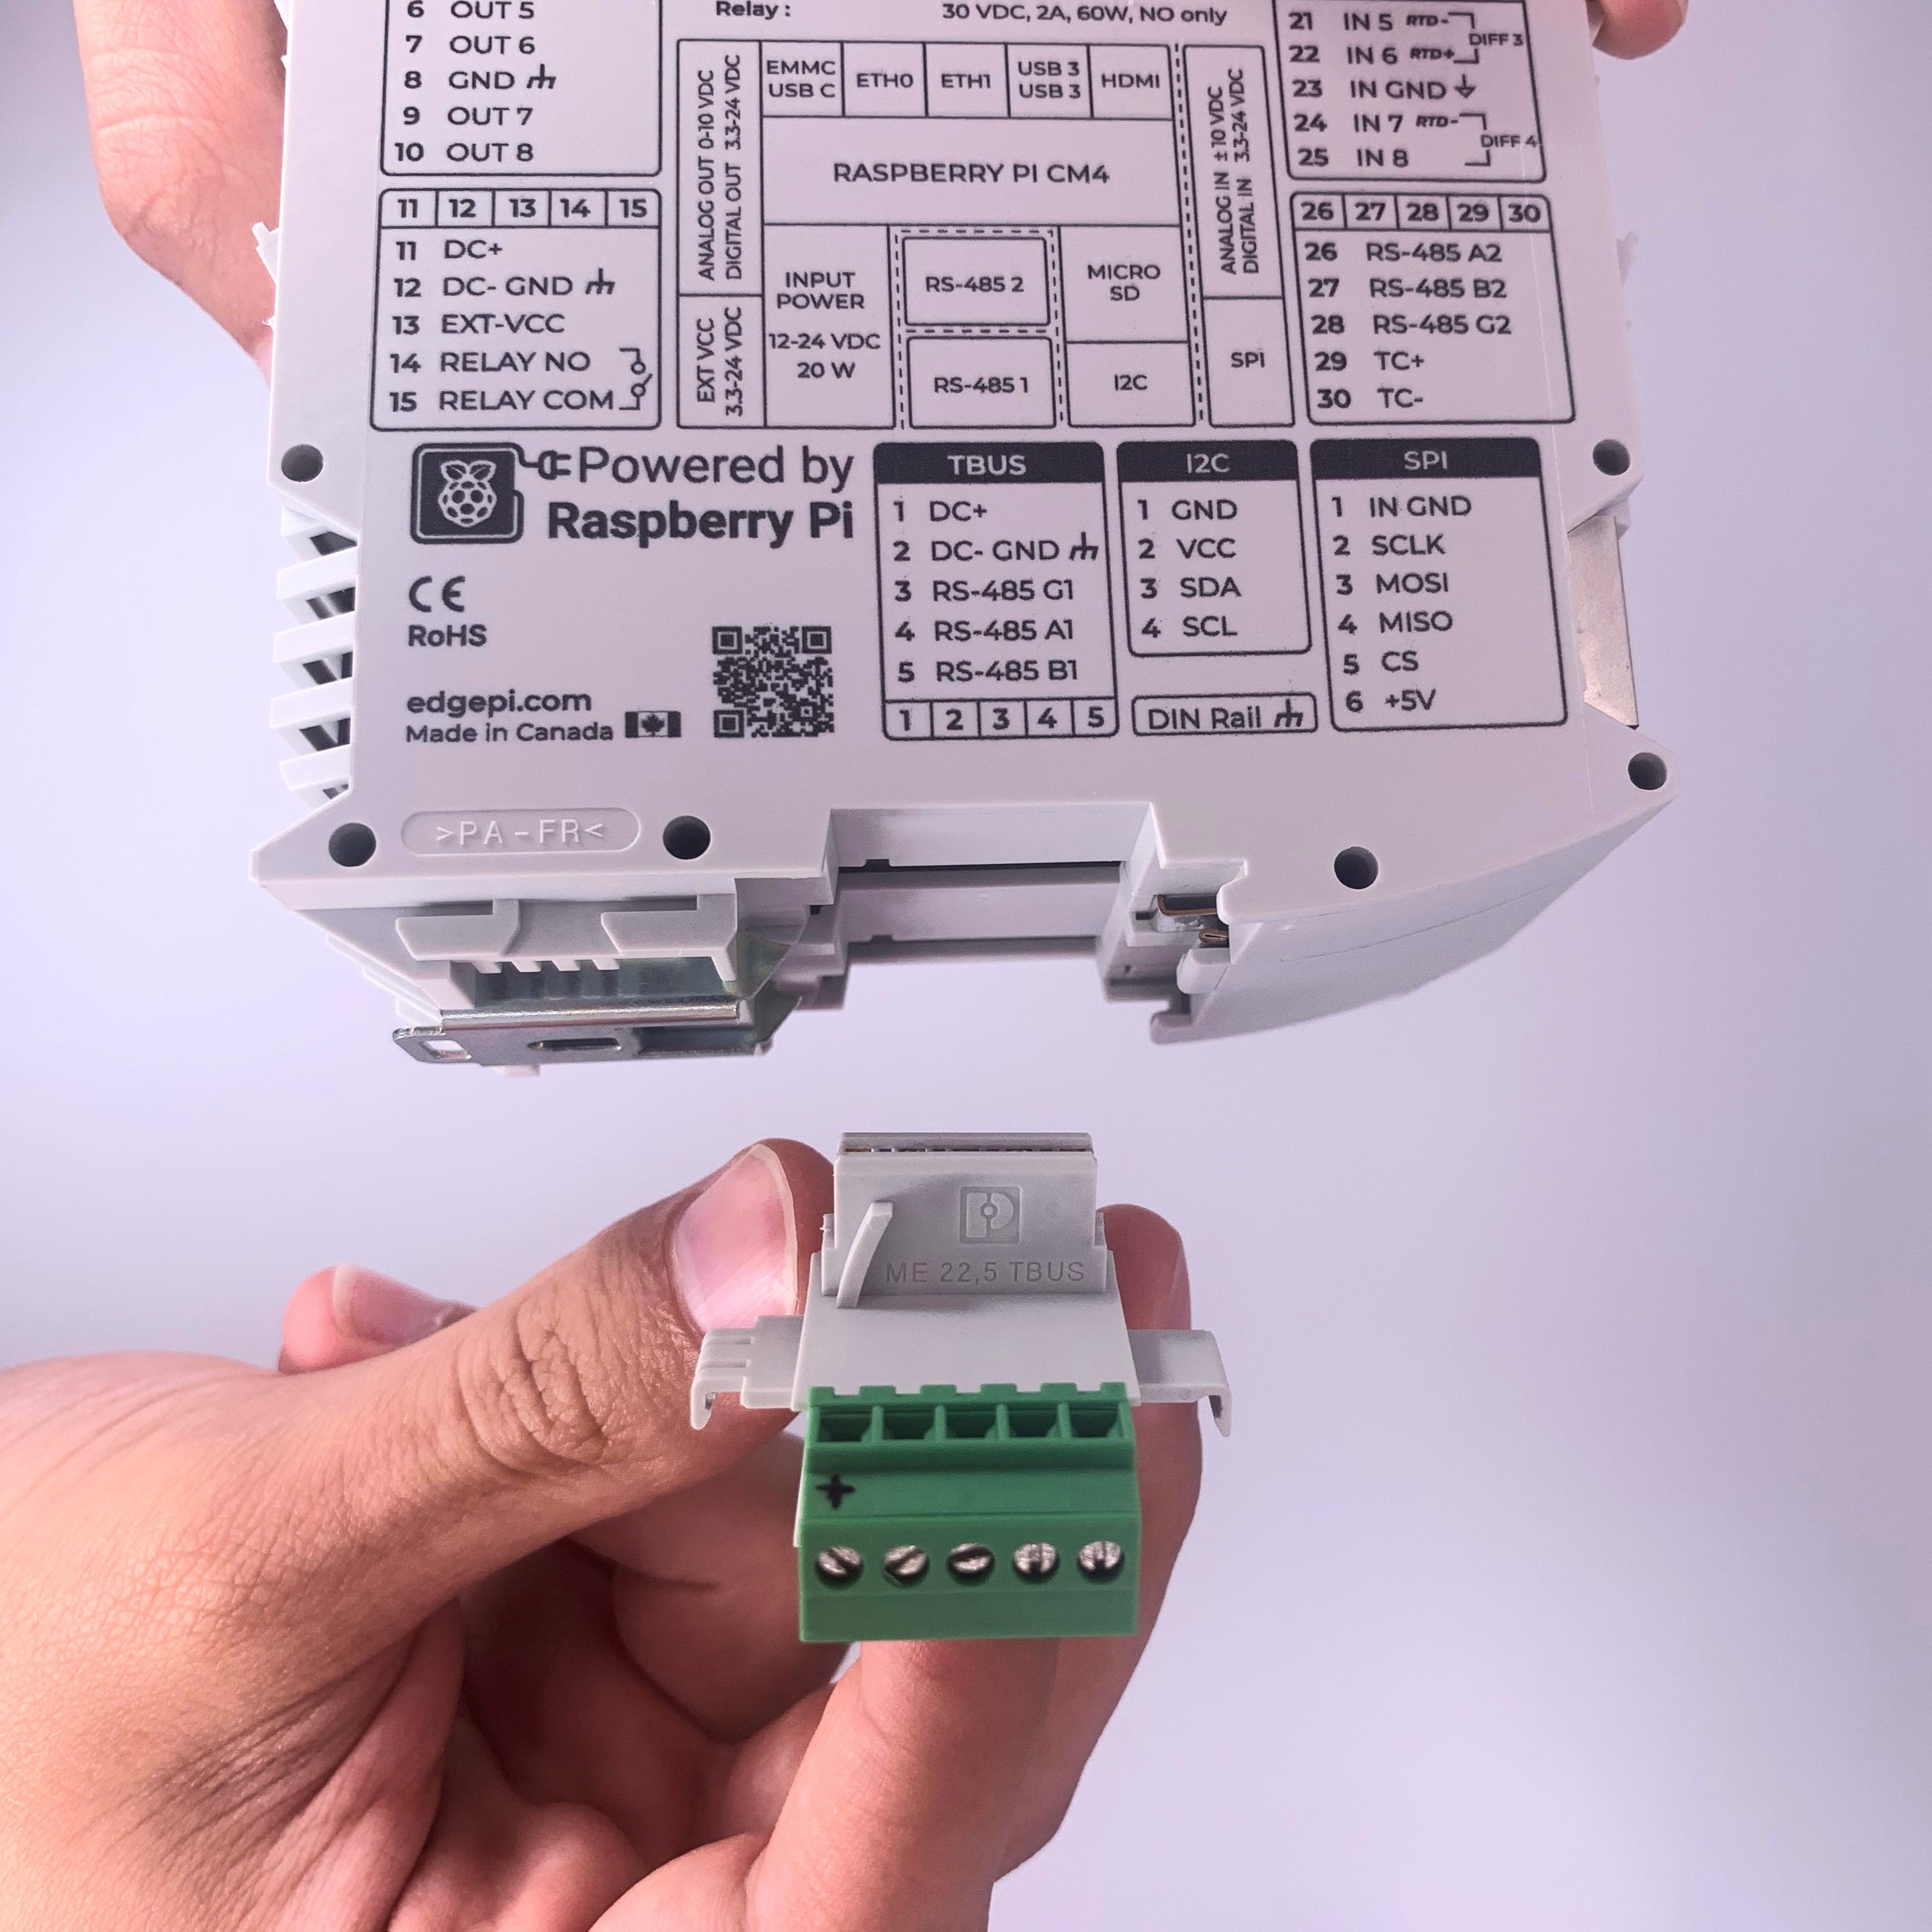
Connect a TBUS to the bottom of the device. The TBUS enables you to easily access the bottom 5 channels.
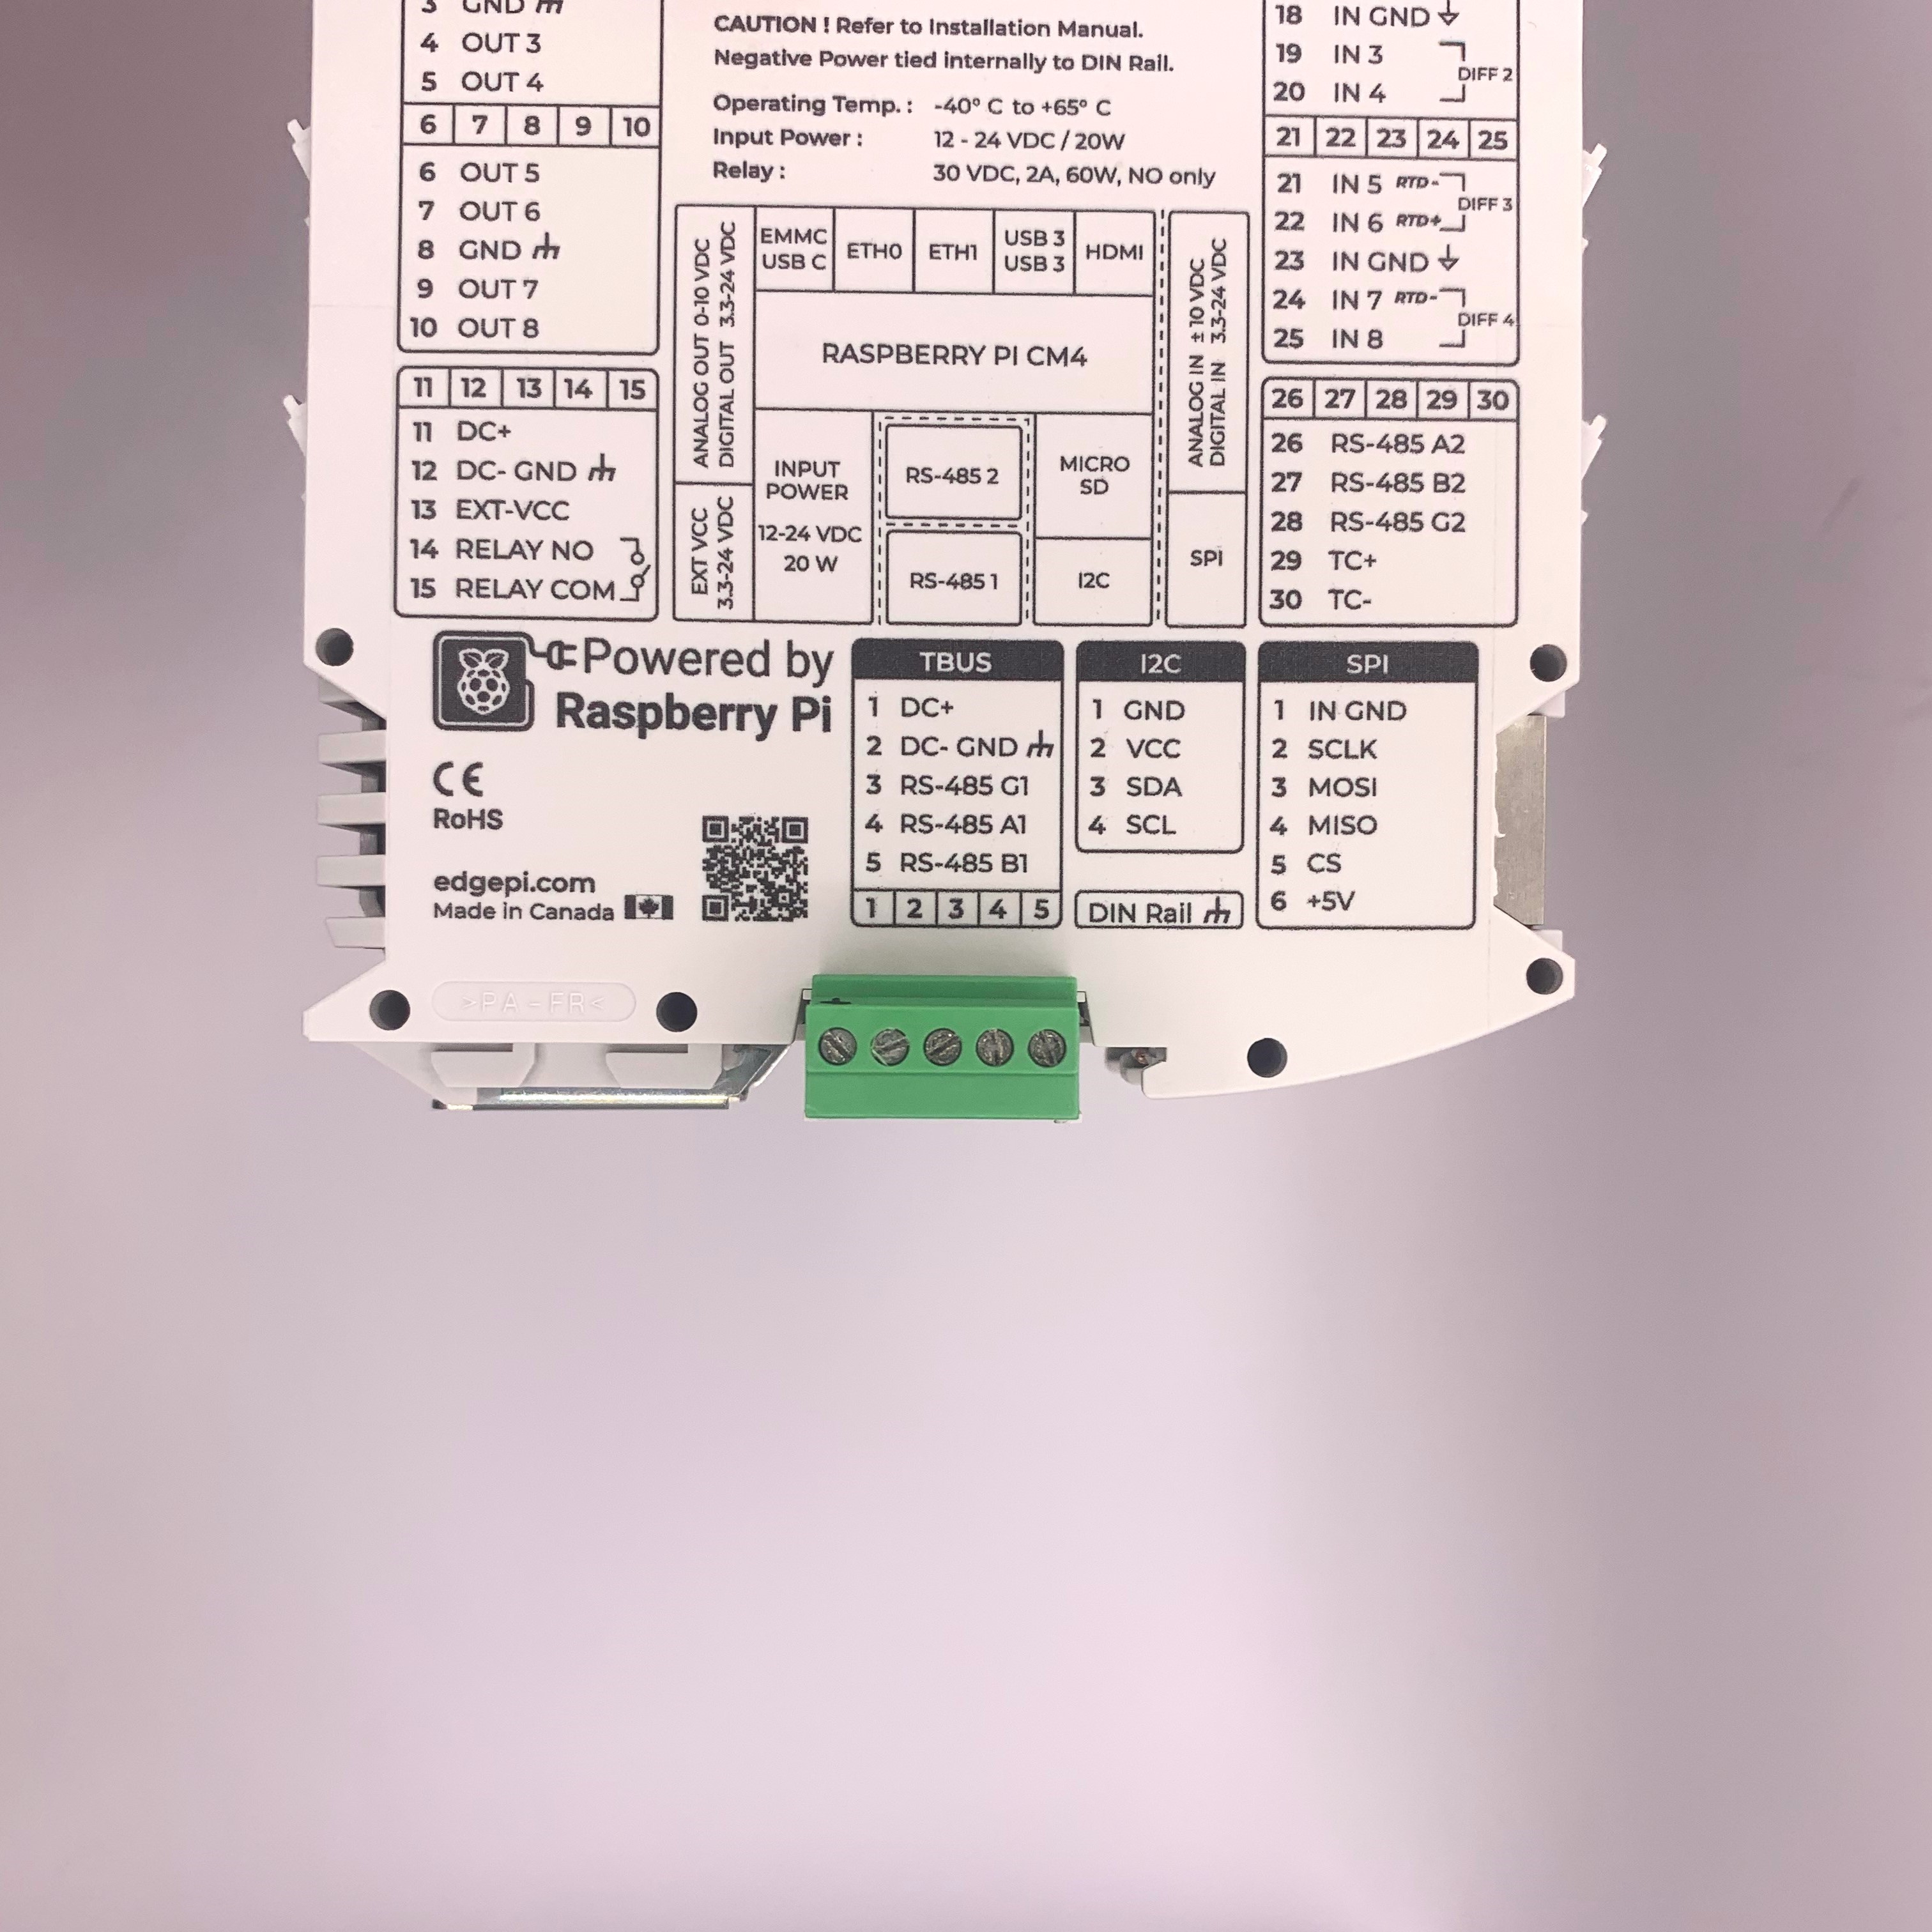
-
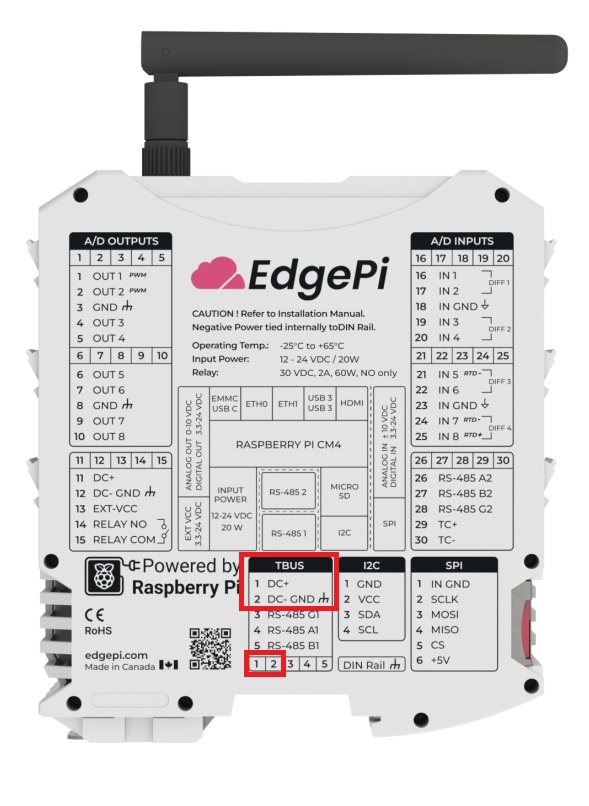
Connect the positive wire to channel 1 (labelled
DC+) and the negative wire to channel 2 (labelledDC- GND).
Don't turn on your power supply or plug in the adaptor yet; You could risk electric shock.
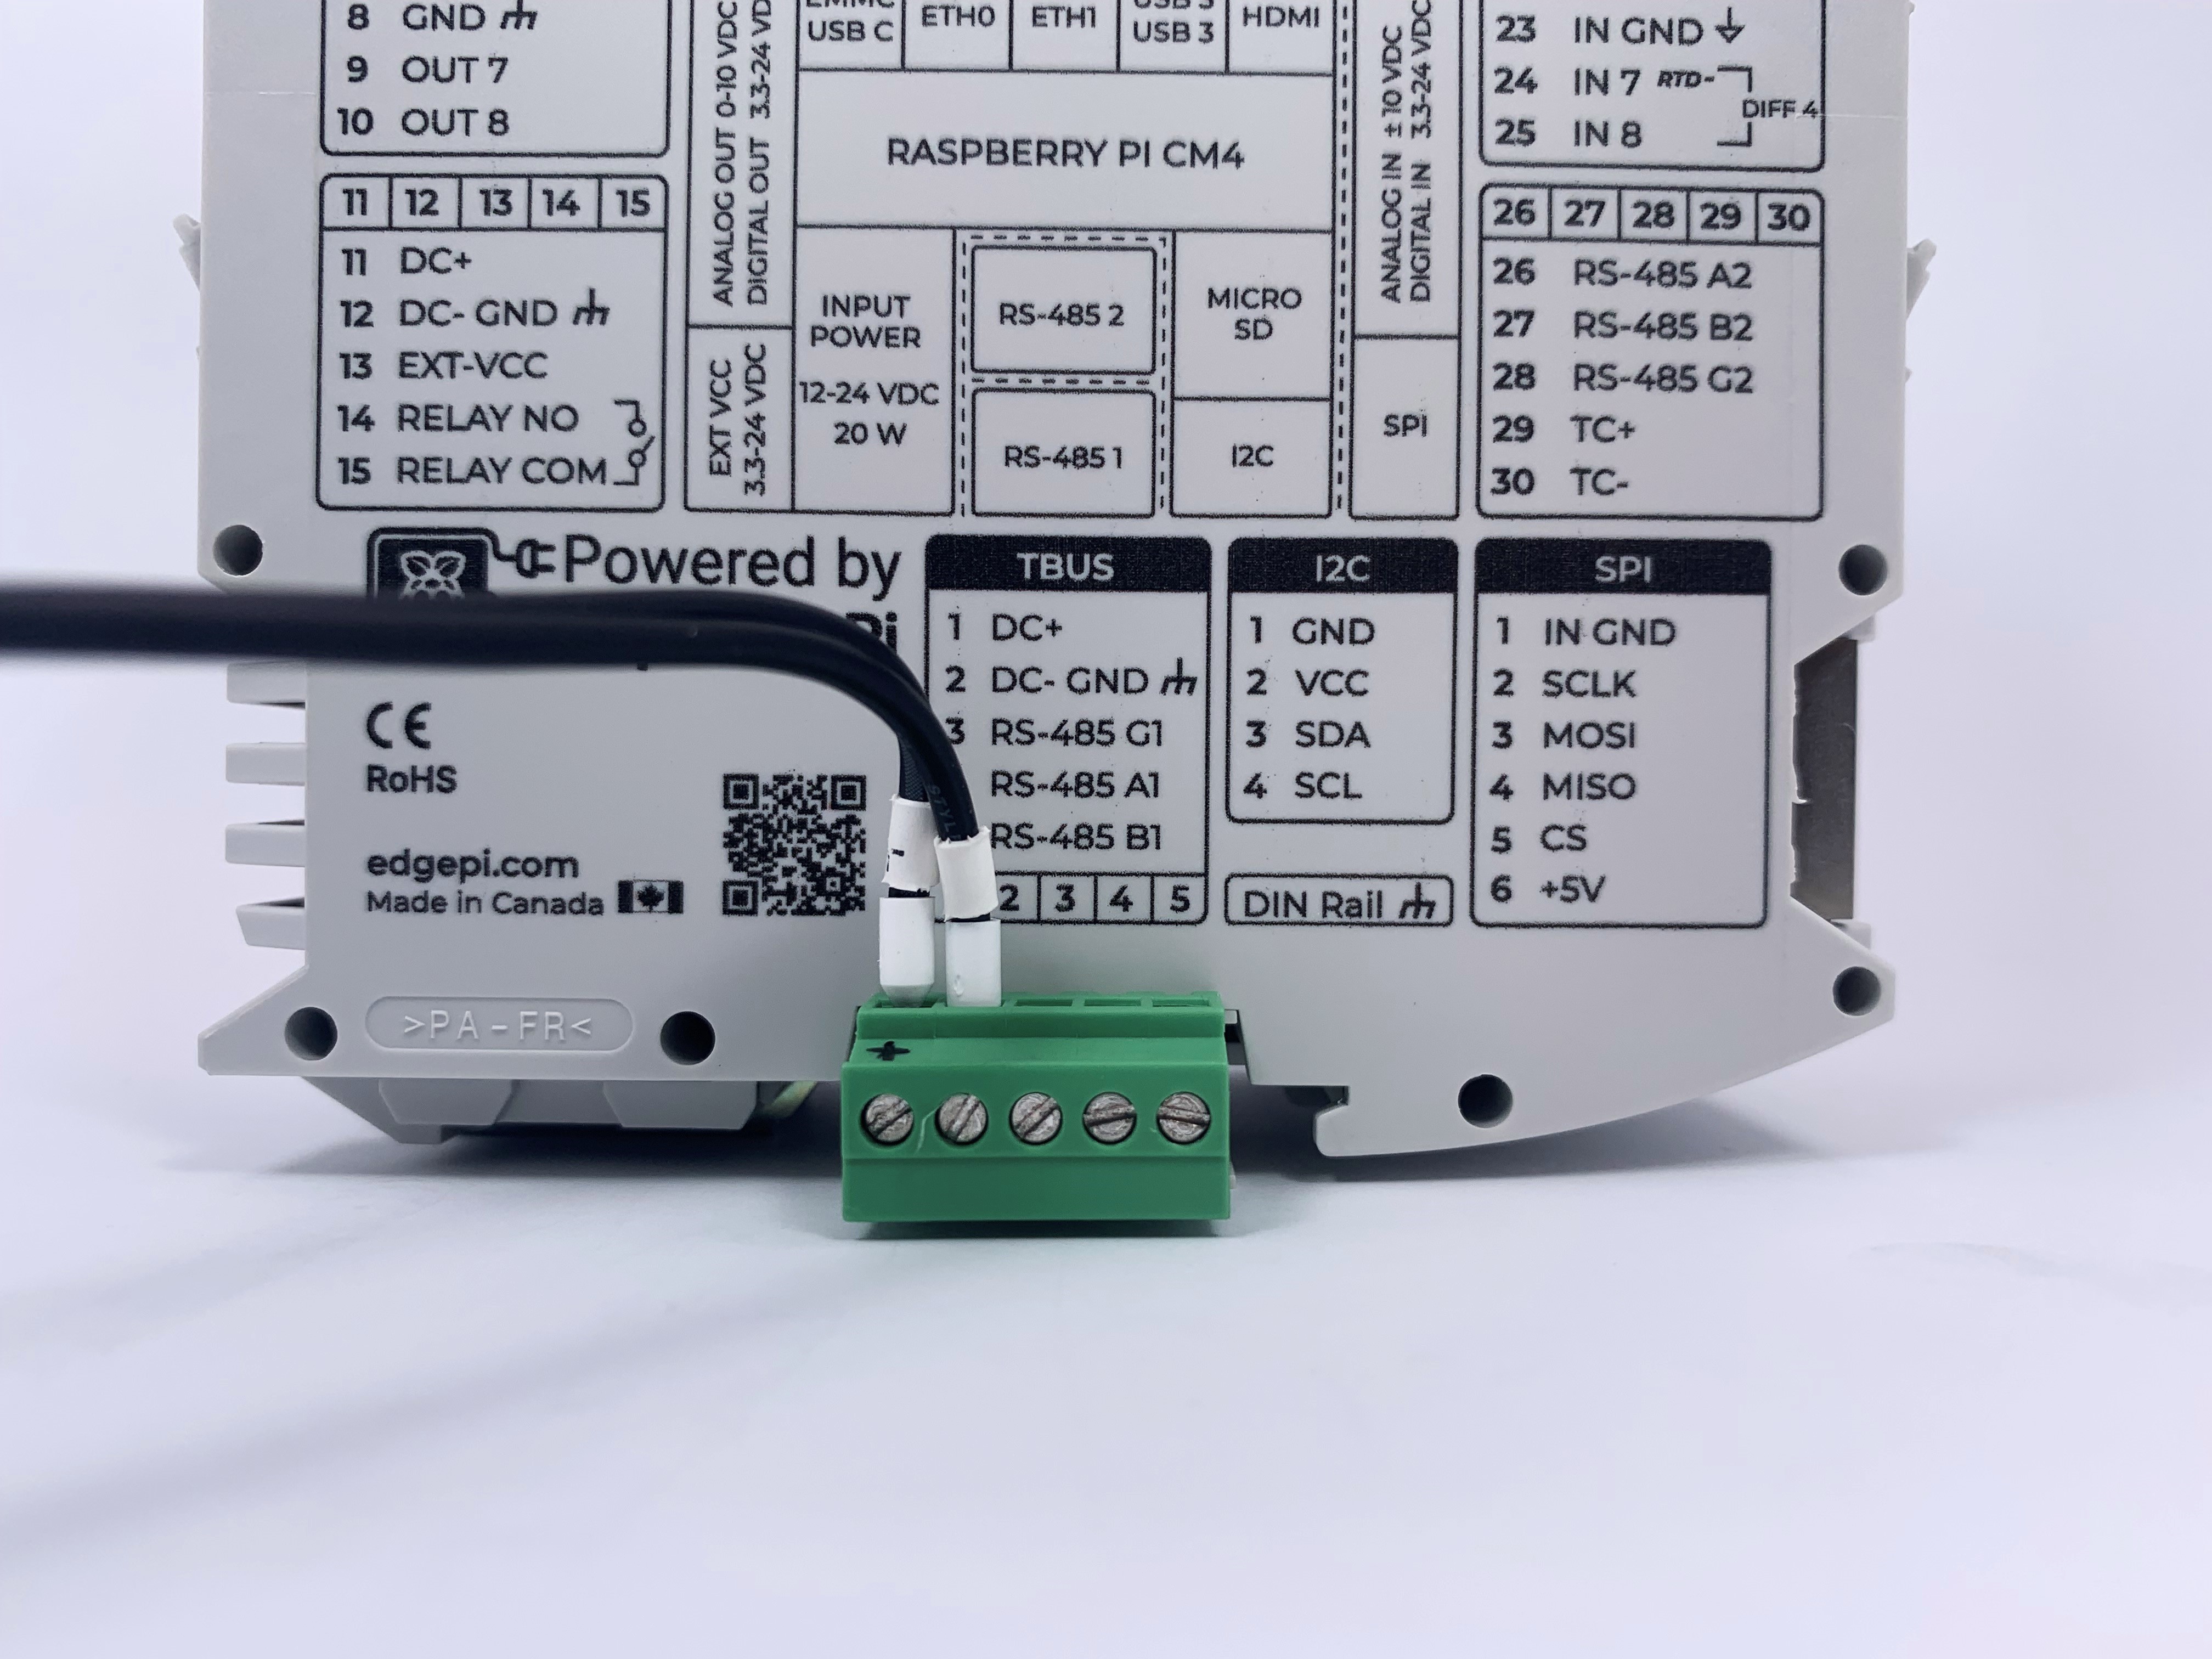
Loosen the screws on the TBUS before inserting the wires, then tighten the screws.
4. Hook the right bottom right of the device to the DIN rail.
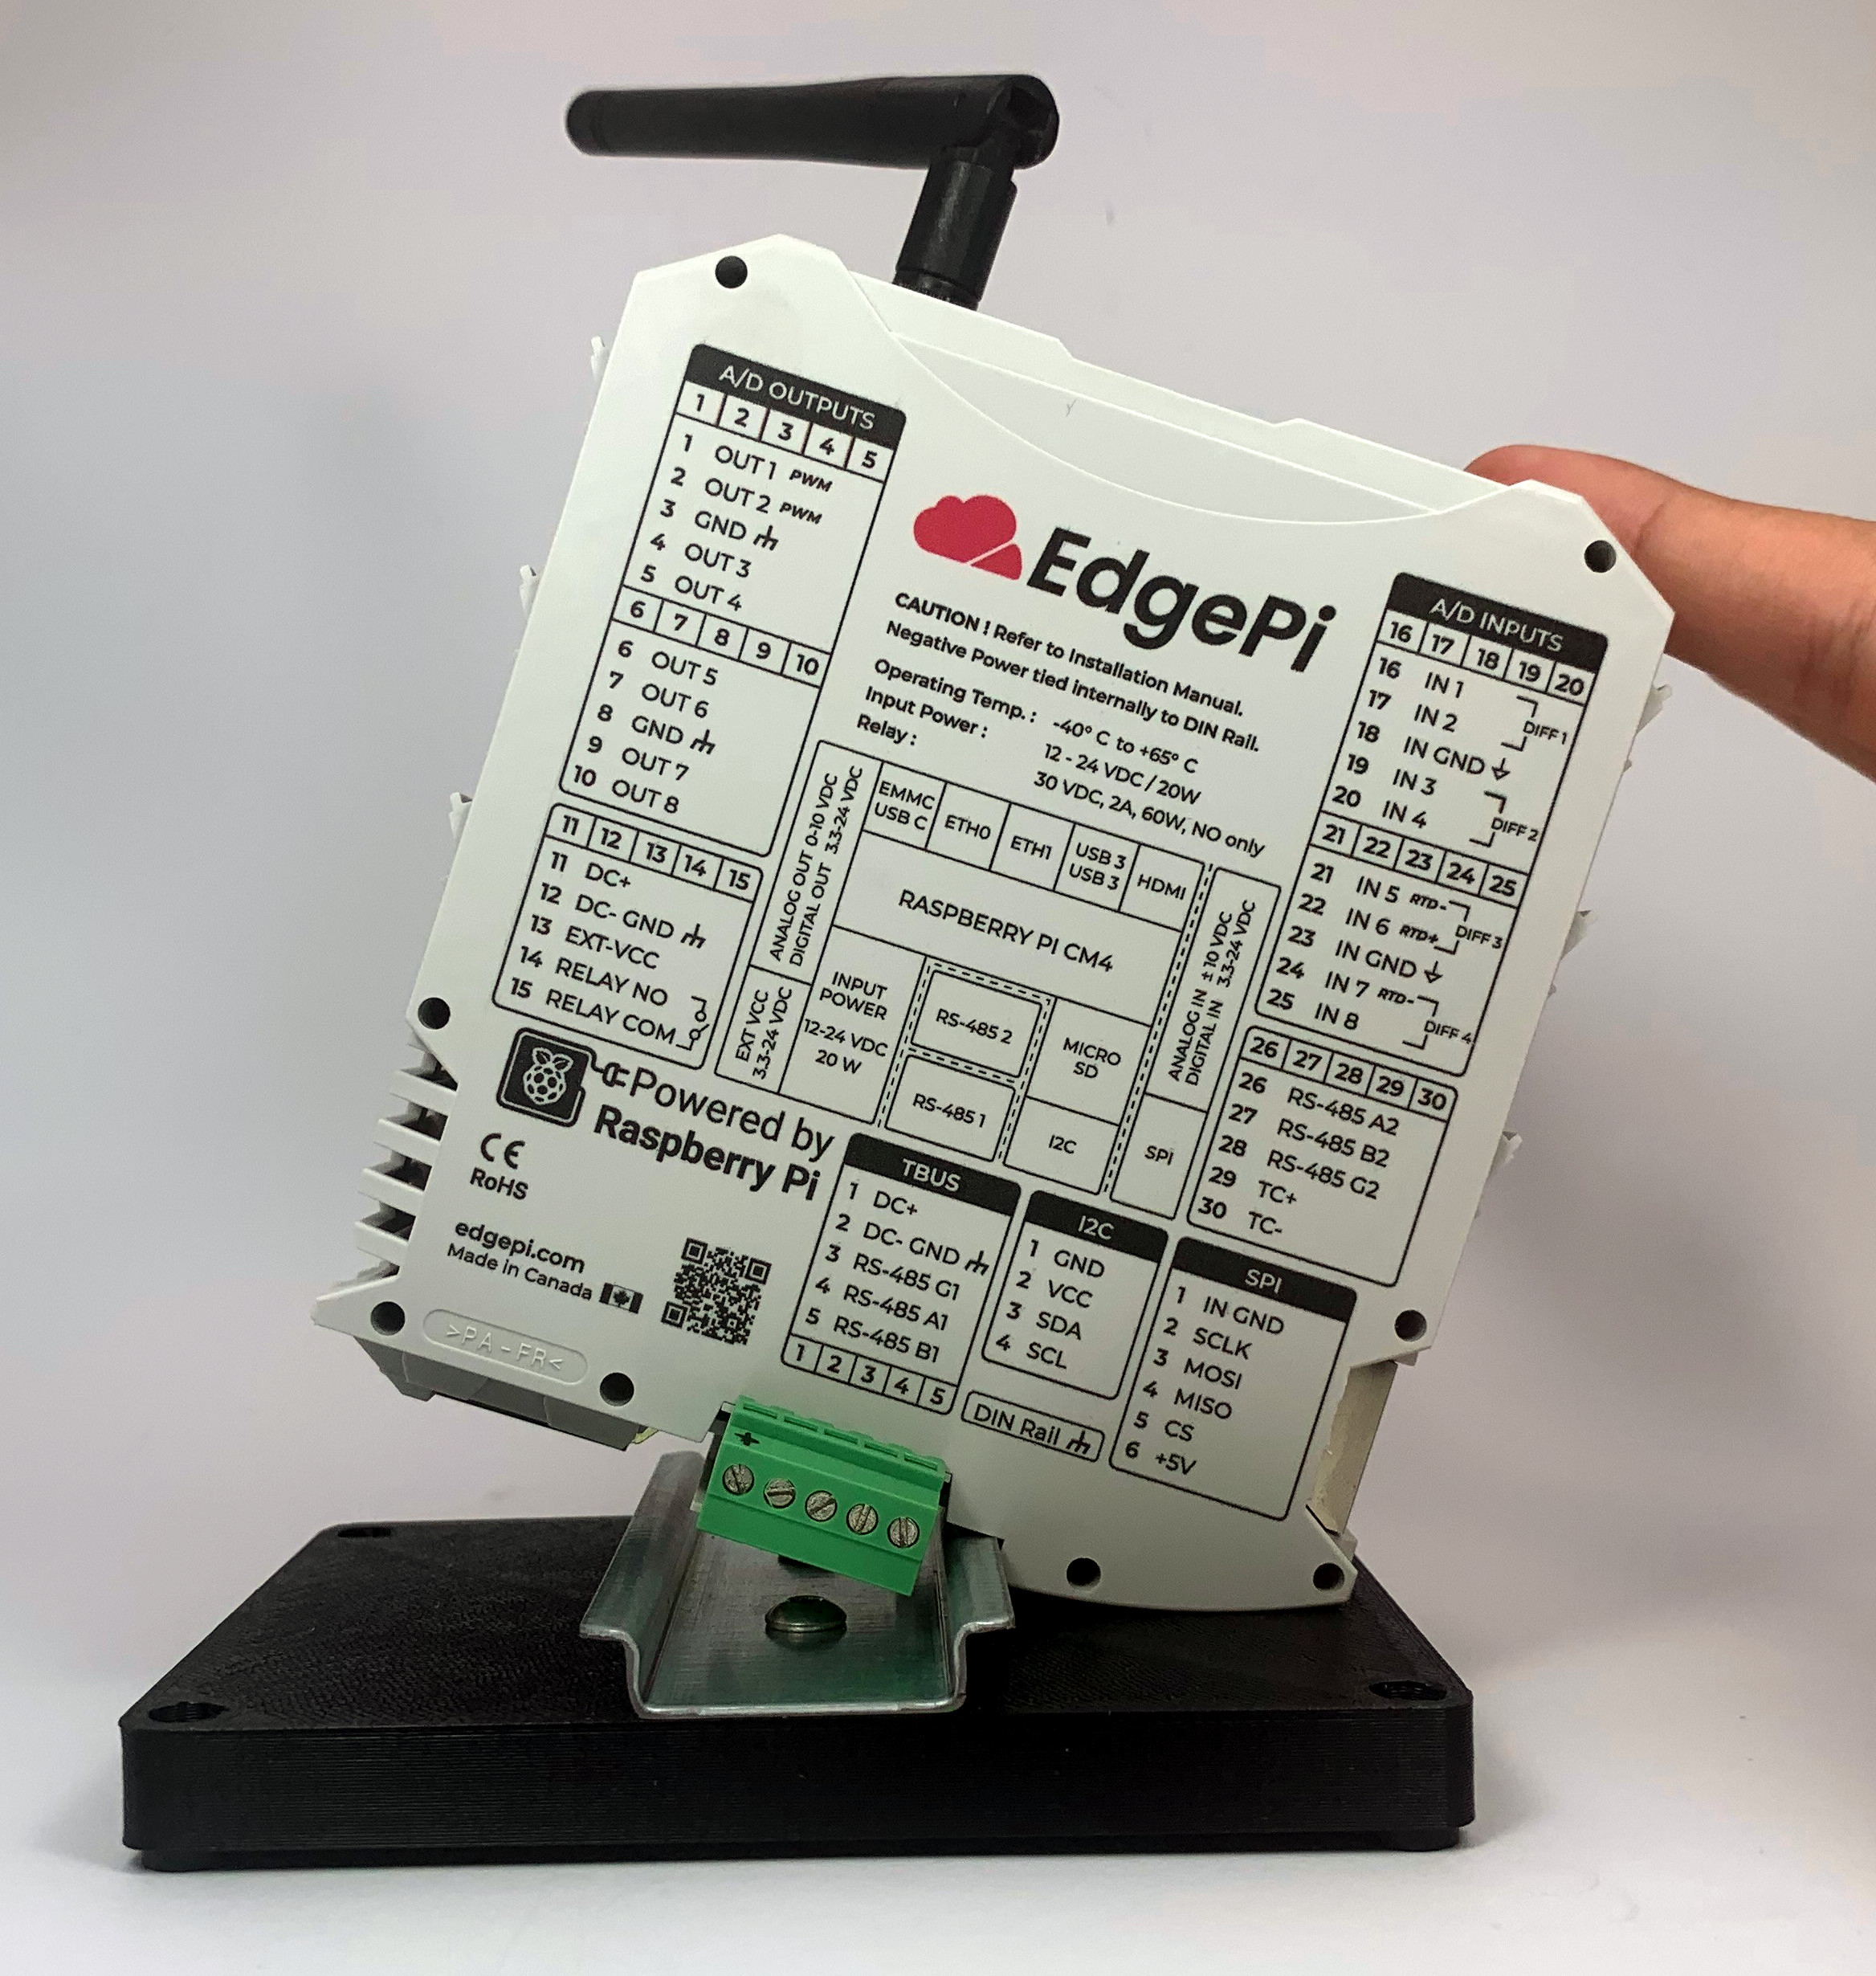
Notice which side of the device has the hook.
- Apply pressure to the left side to click the device in place.
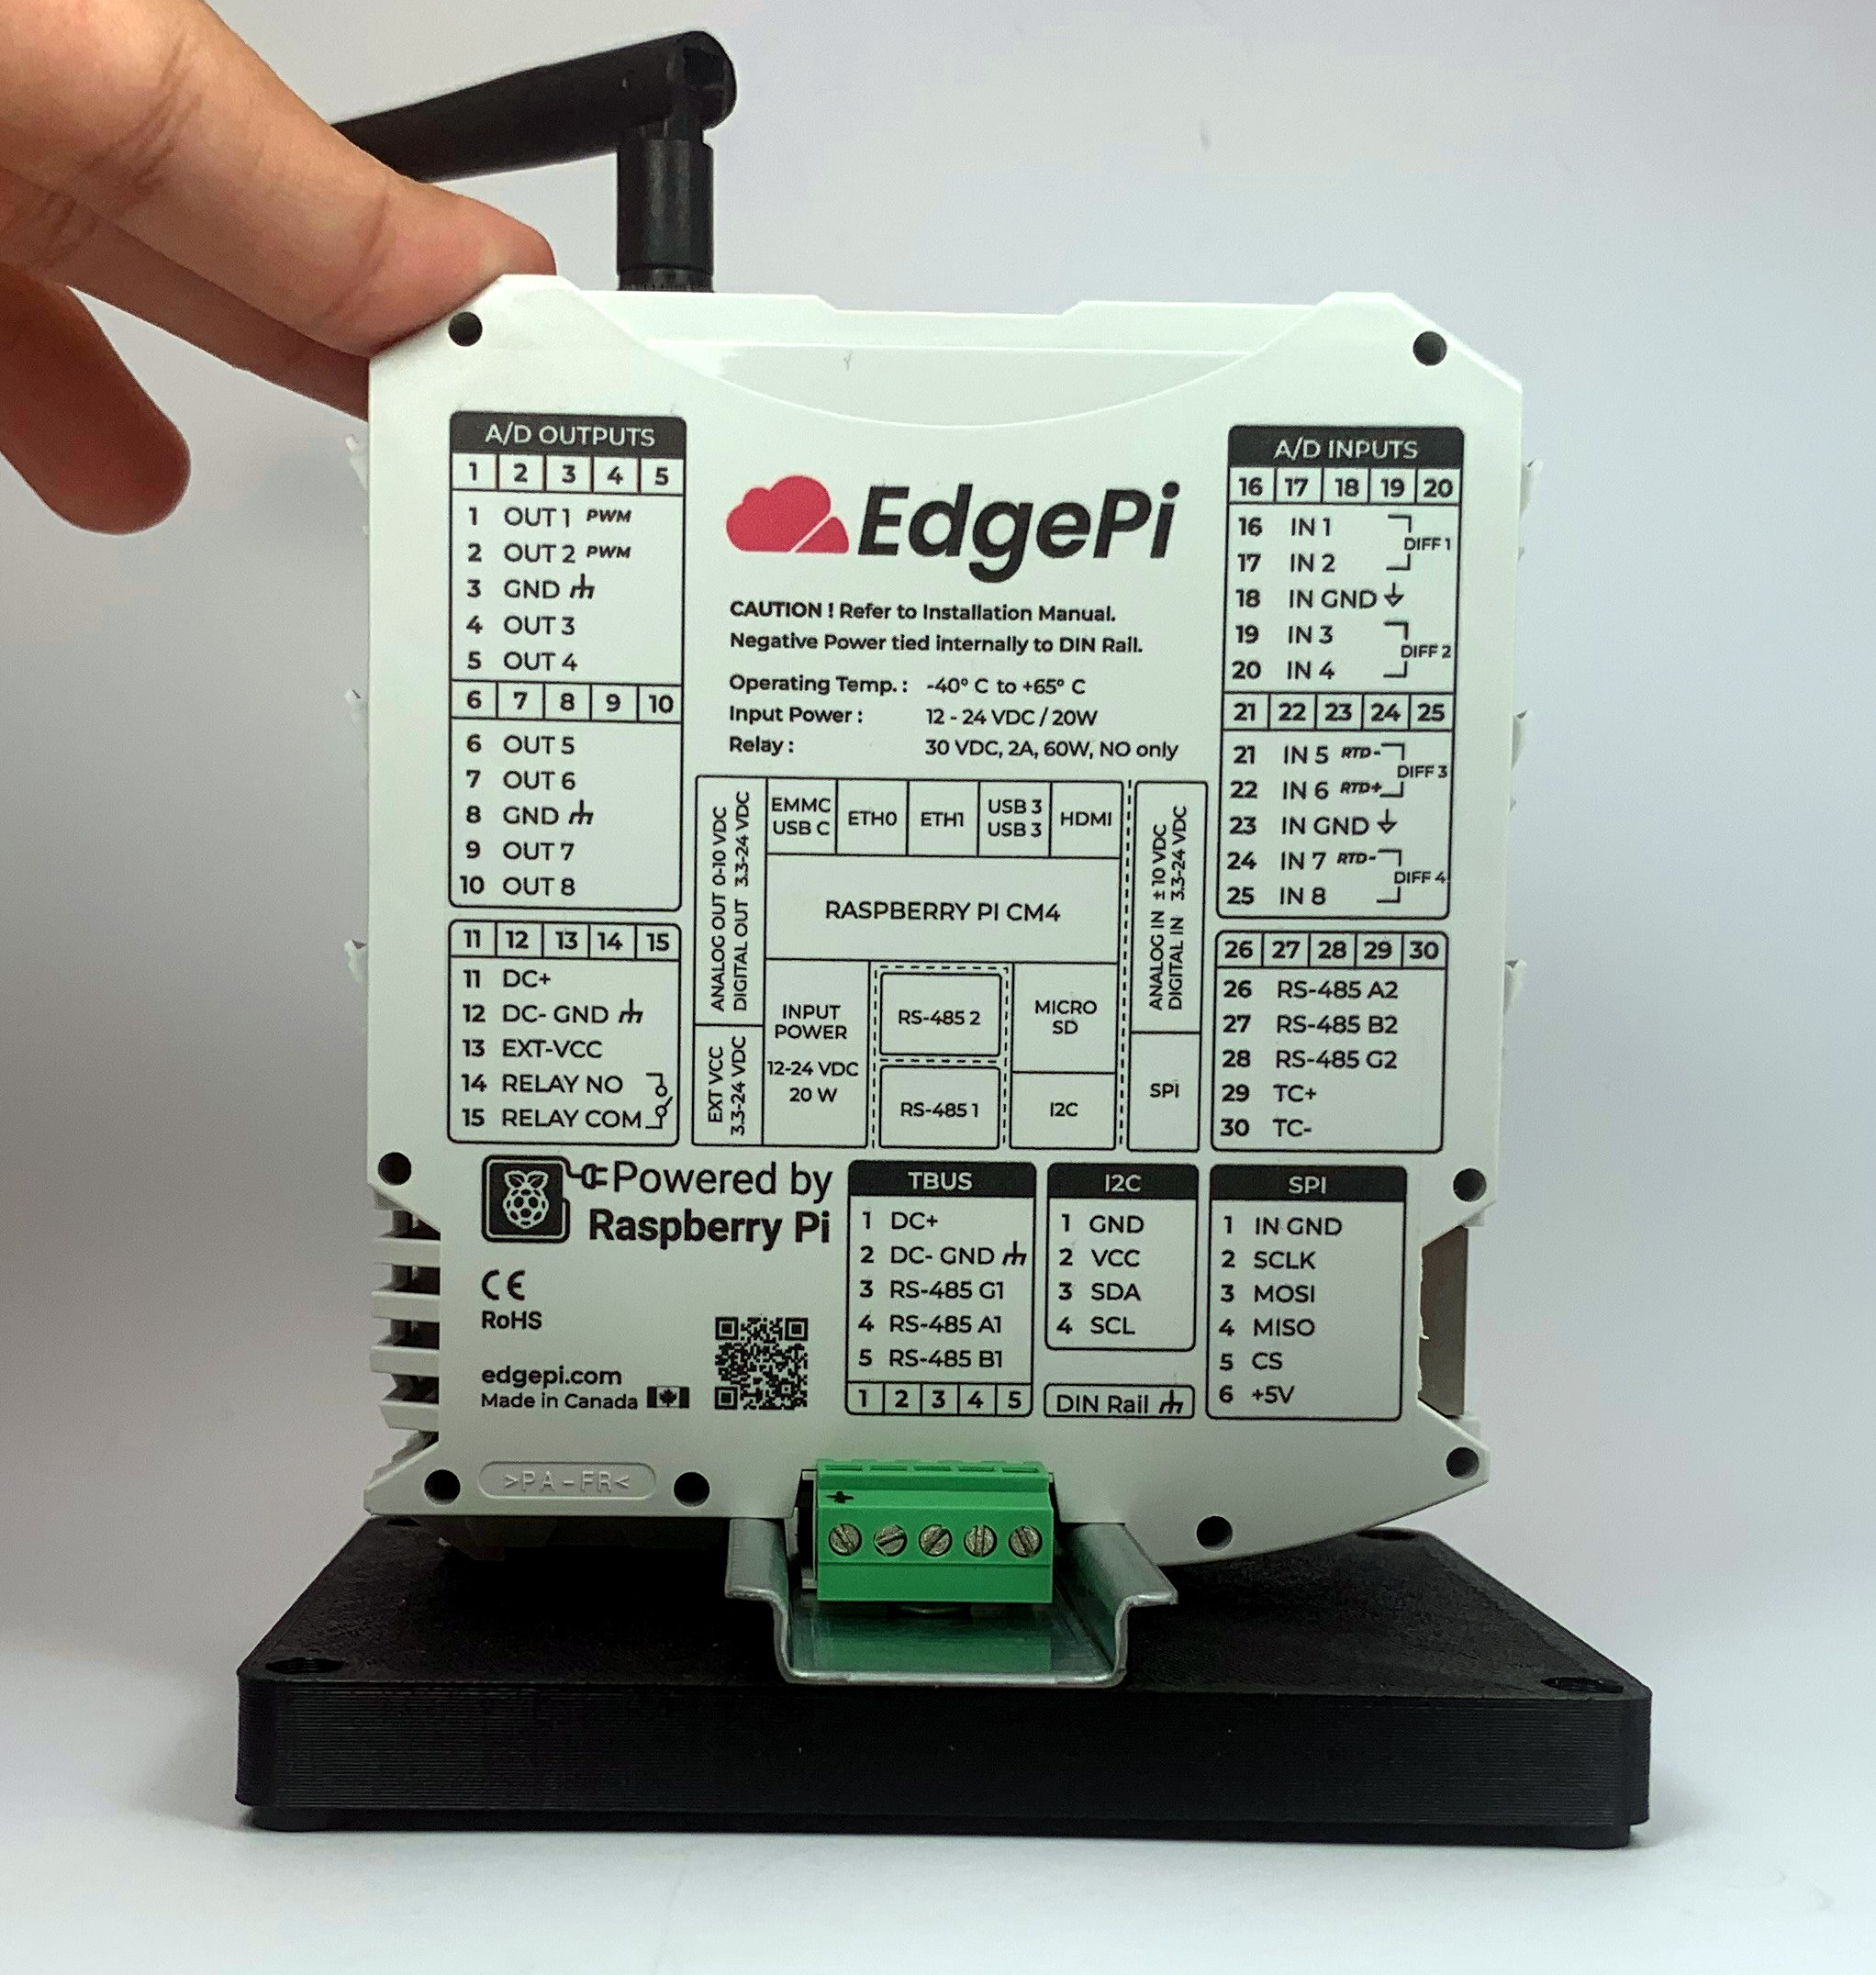
- Activate your power supply or plug your adaptor into the wall.
If your device is powered correctly, you should see the LEDs on the top face of the EdgePi turn on.
¶ Troubleshooting
If the LEDs on the device are not turning on, try the following:
- Make sure the power cables are plugged in the correct way. The positive wire should be on the left.
- Can the power cables be removed by pulling on them? If so, you might want to re-attach them.
- Is the power cable is plugged into the wall? Ensure the outlet is working.
¶ Next Steps
Now that your EdgePi is powered on, it will boot up on its own. In order to access any sensors attached to it, you'll need to connect your EdgePi to the internet.
